
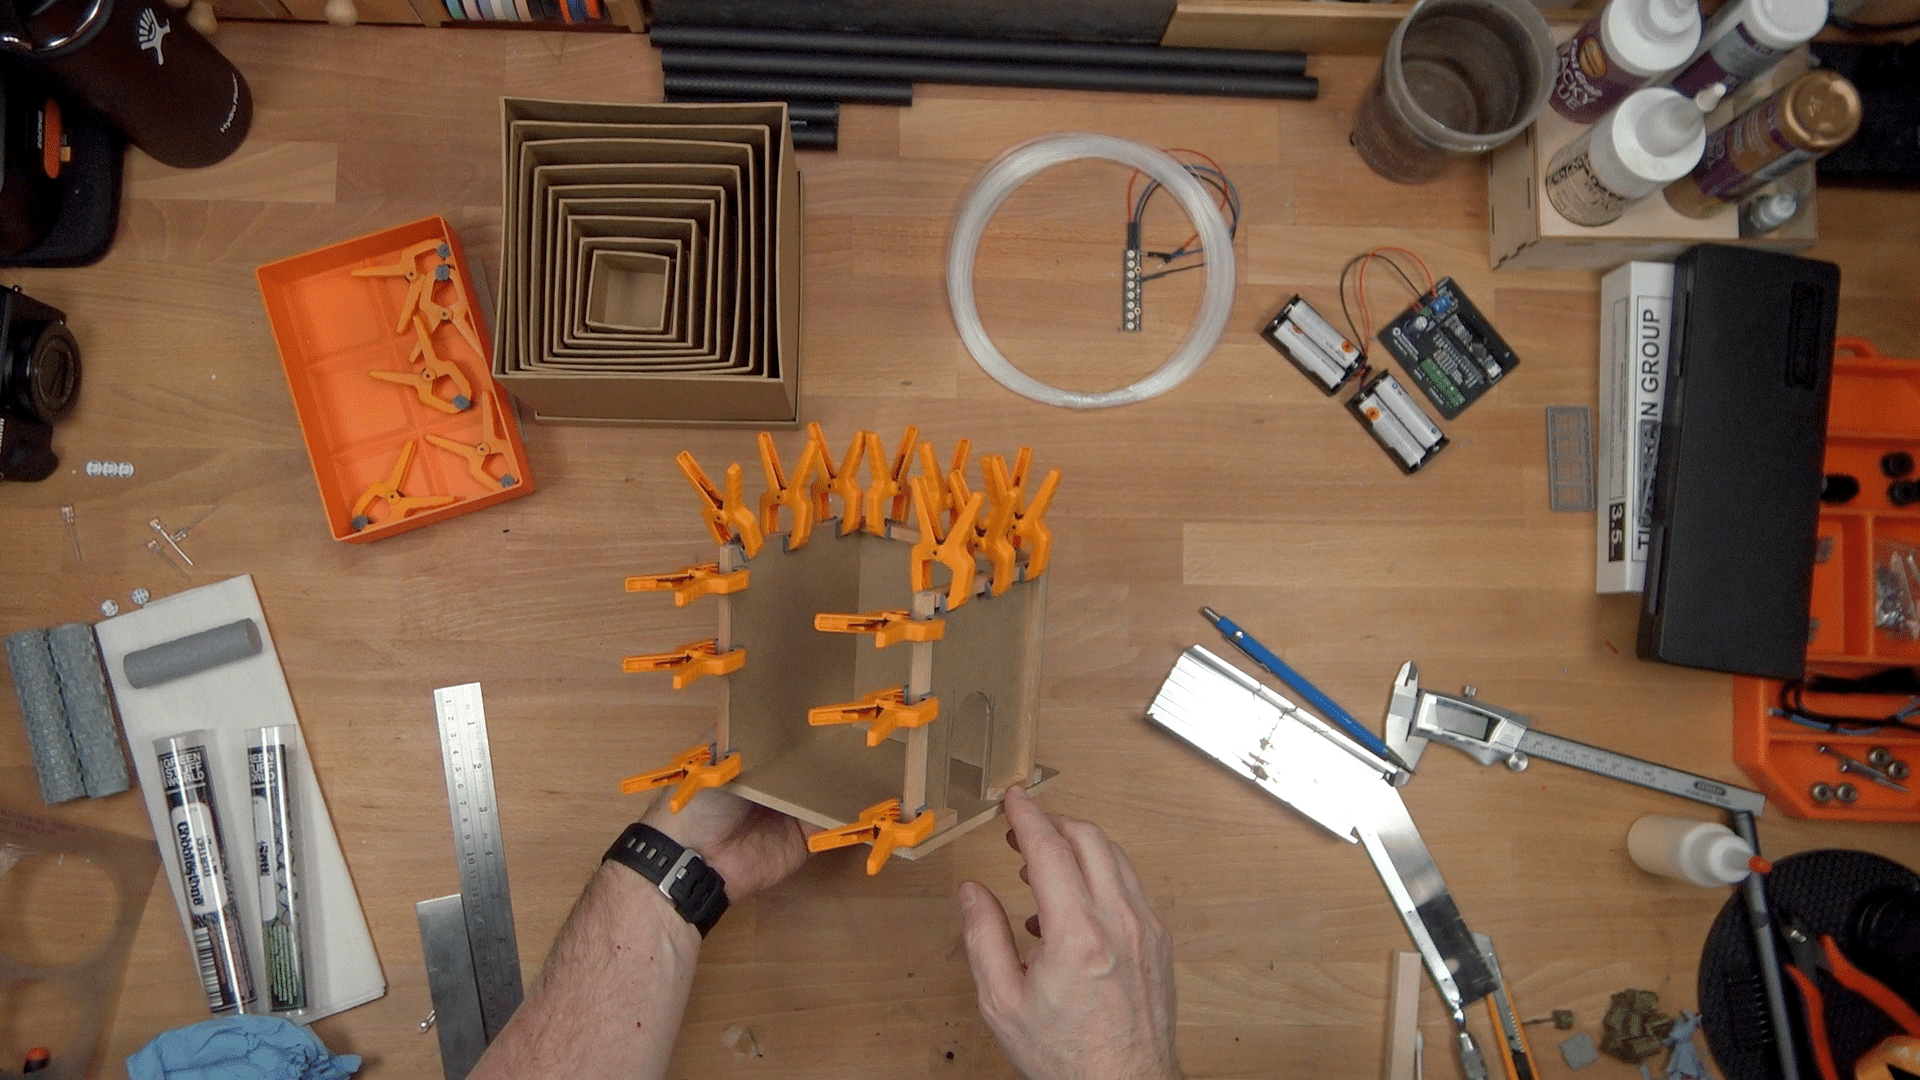
Hark! Follow me on this adventurous quest to create a Dungeons and Dragons book nook diorama that not only displays my love of making but incorporates my passion for adventure games!
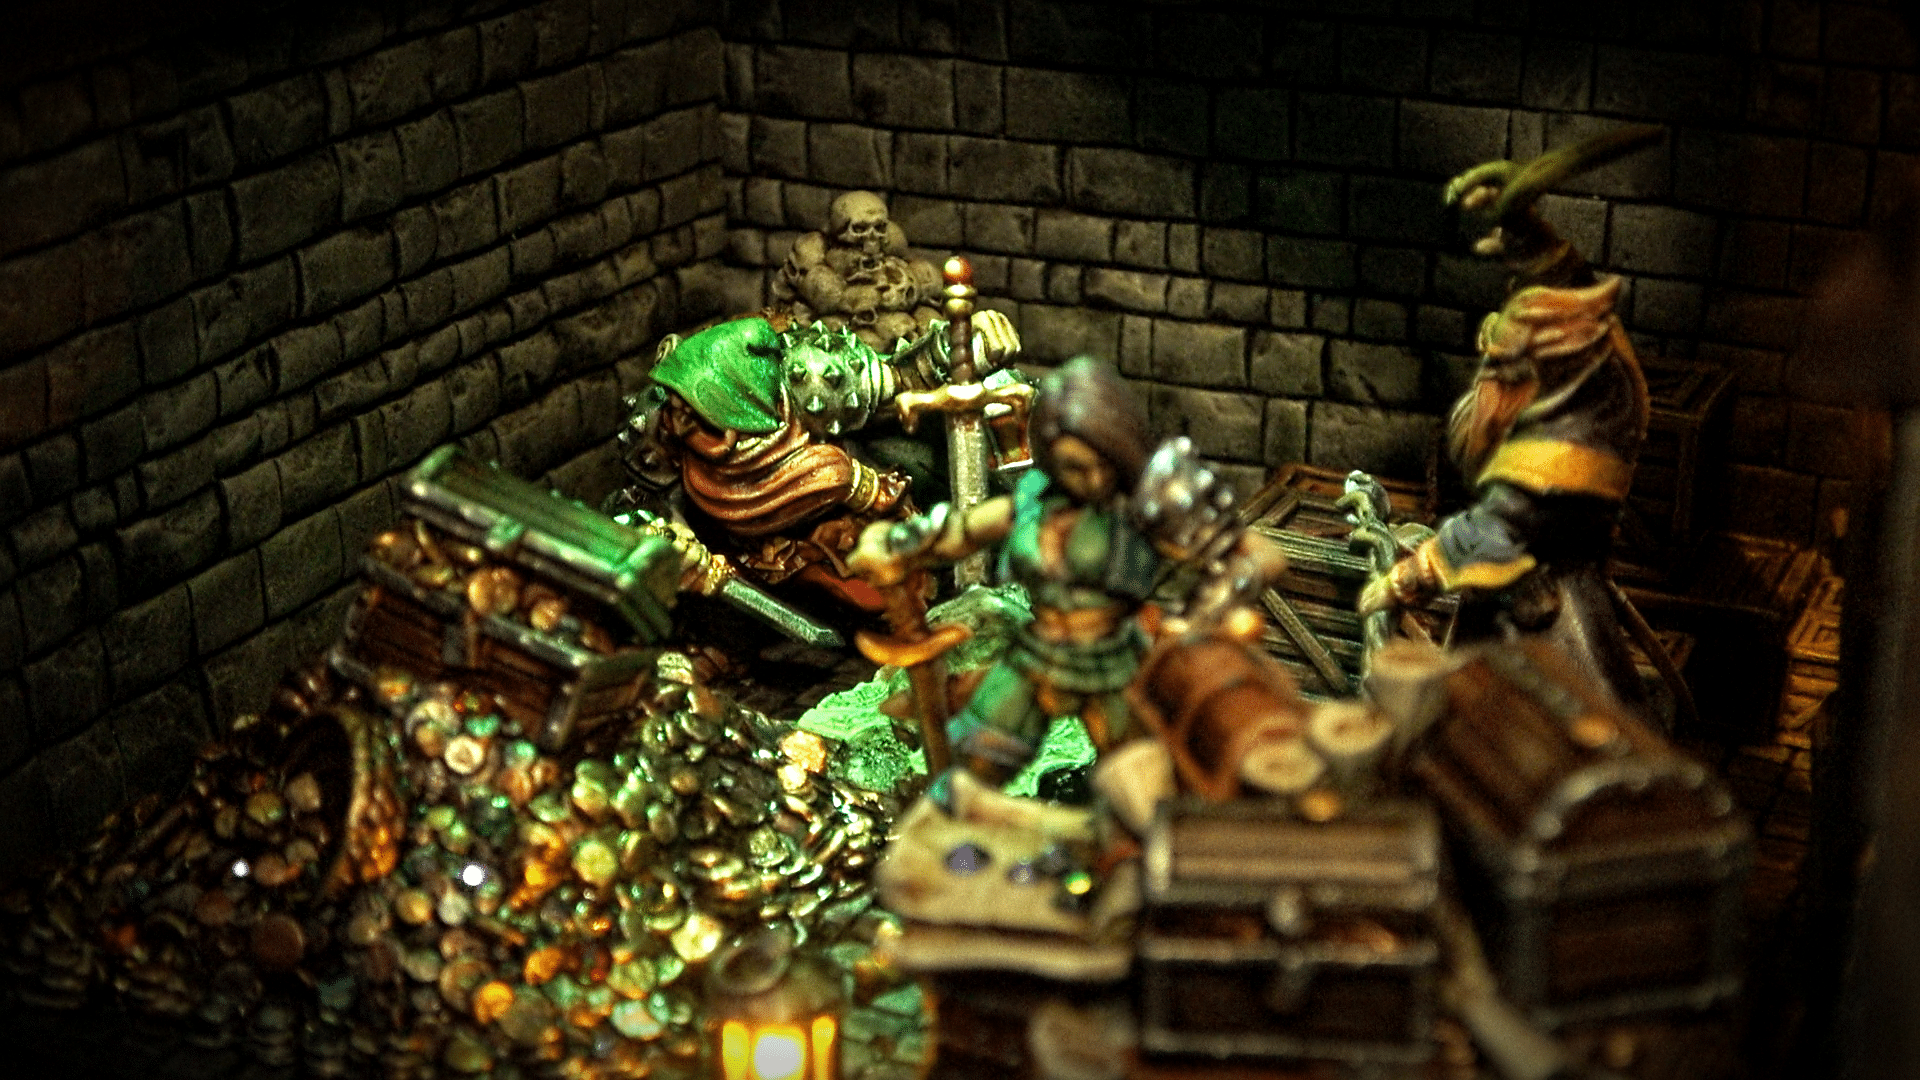
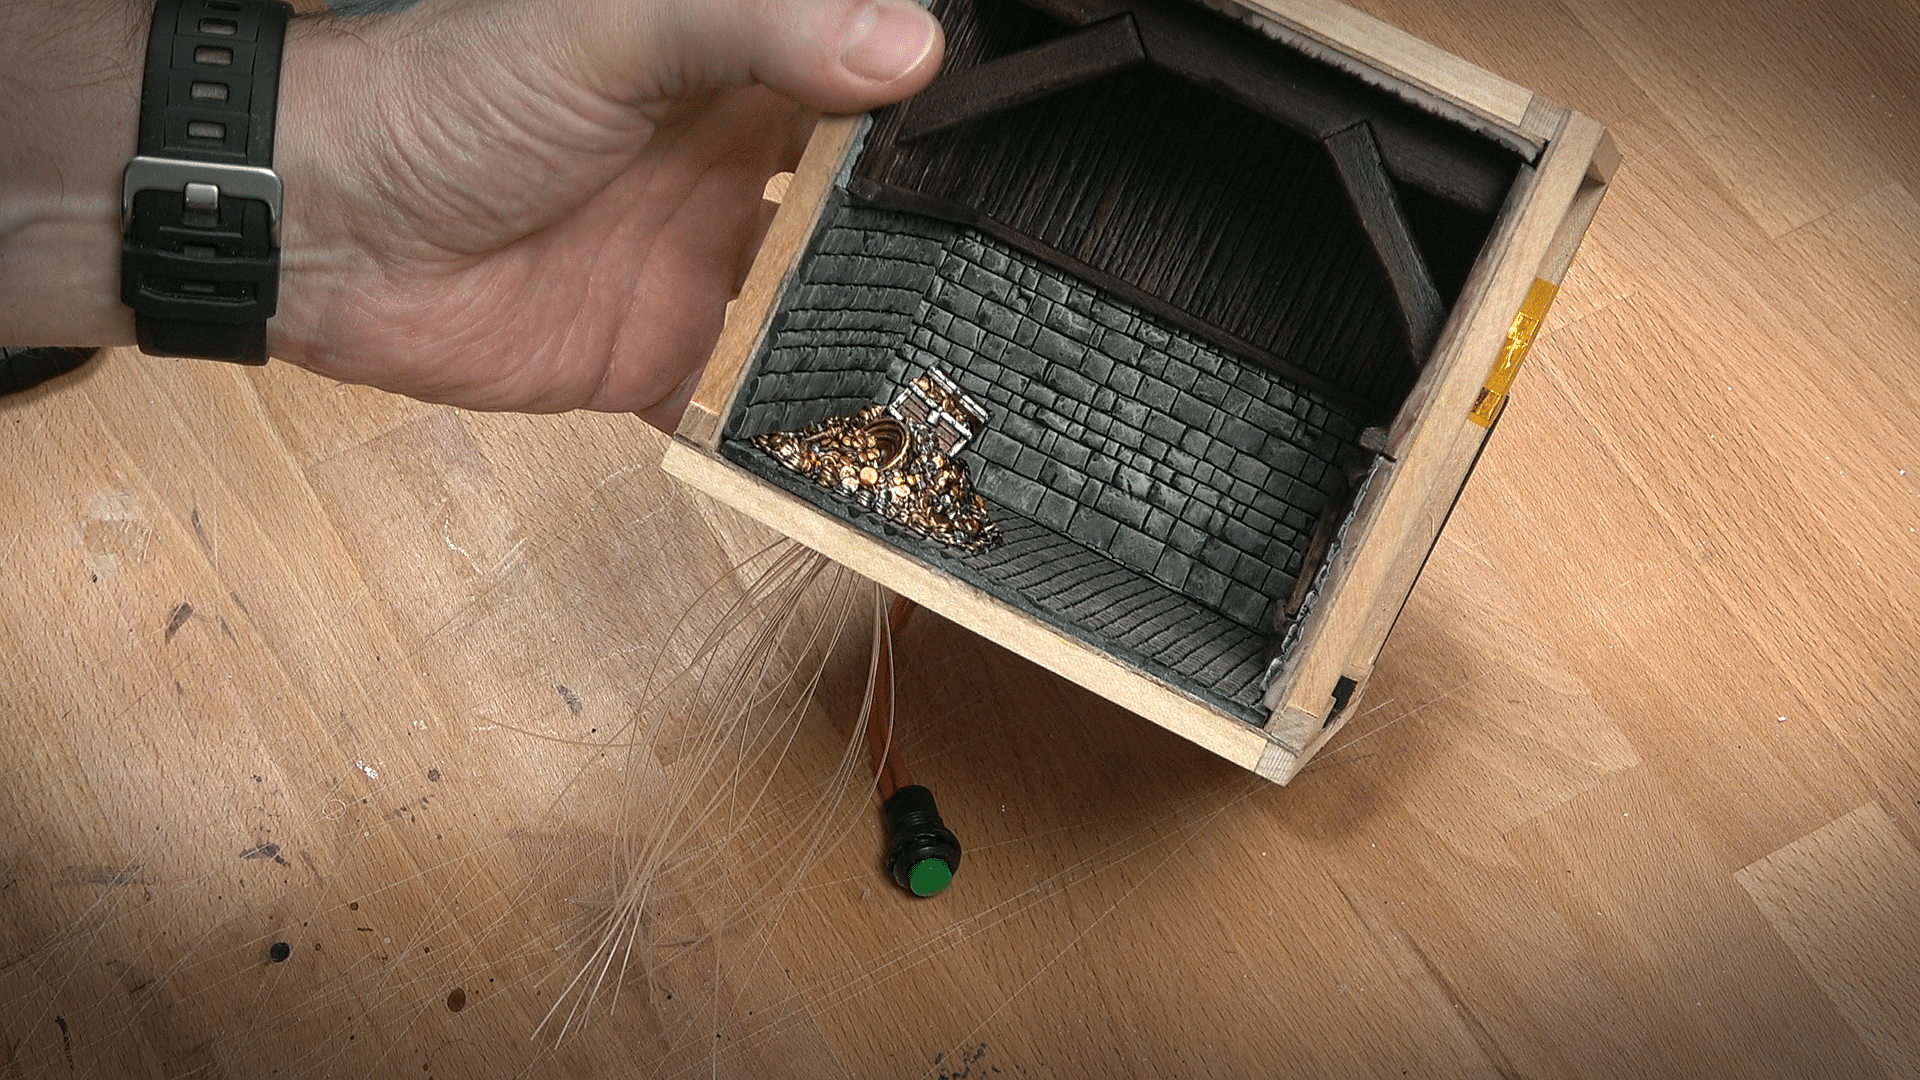
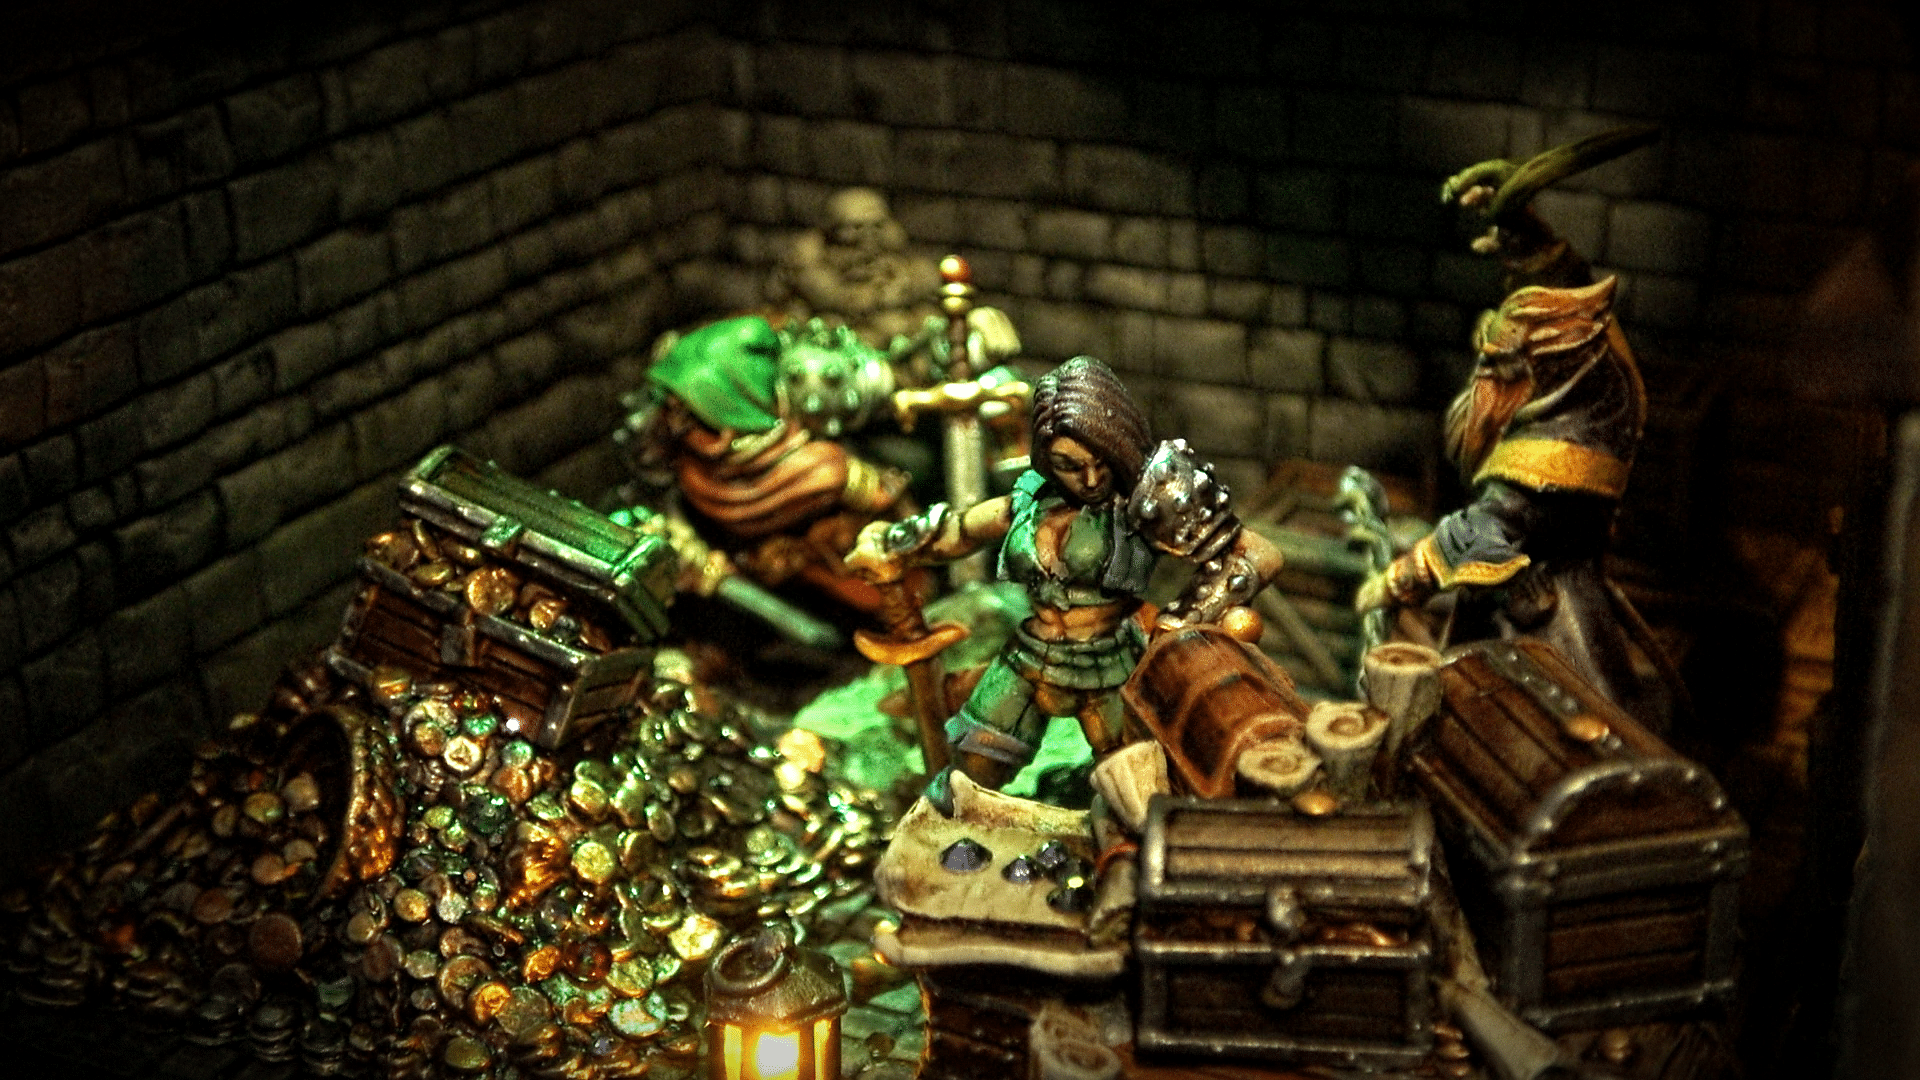
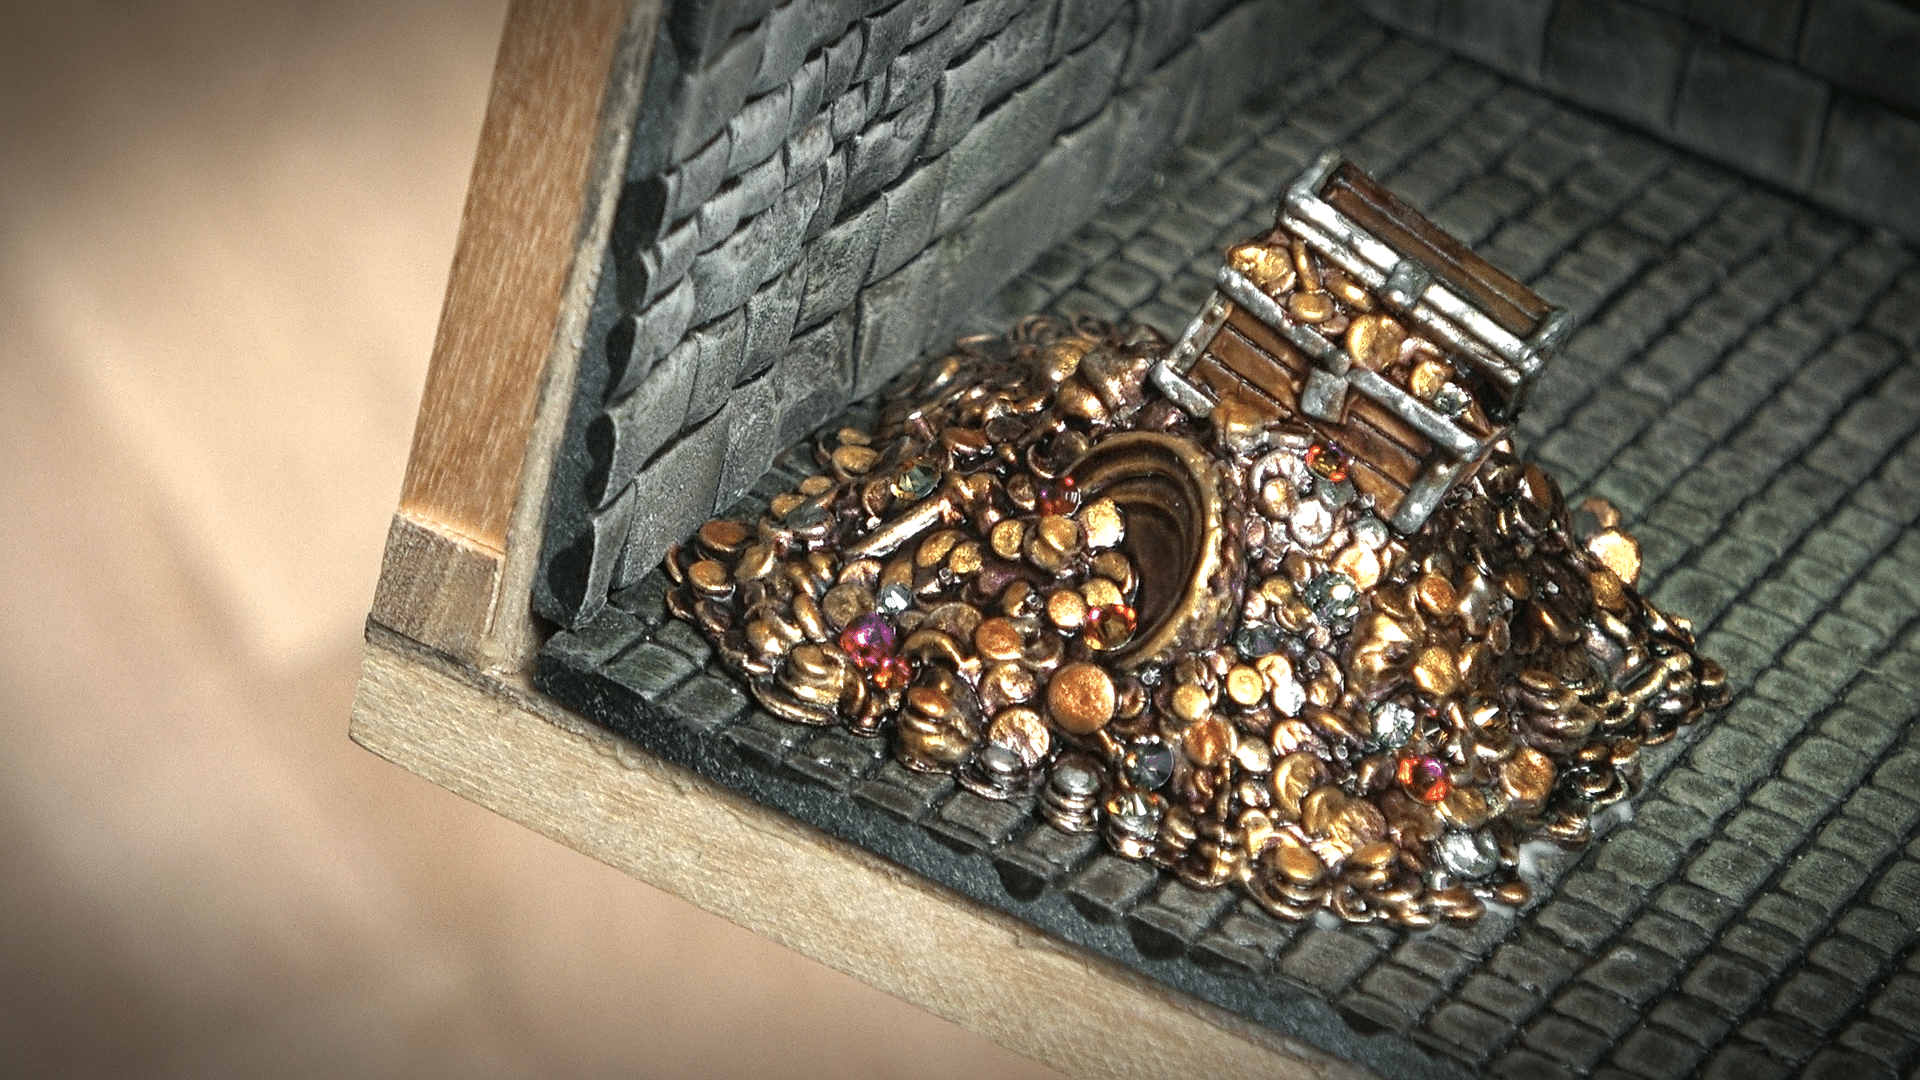
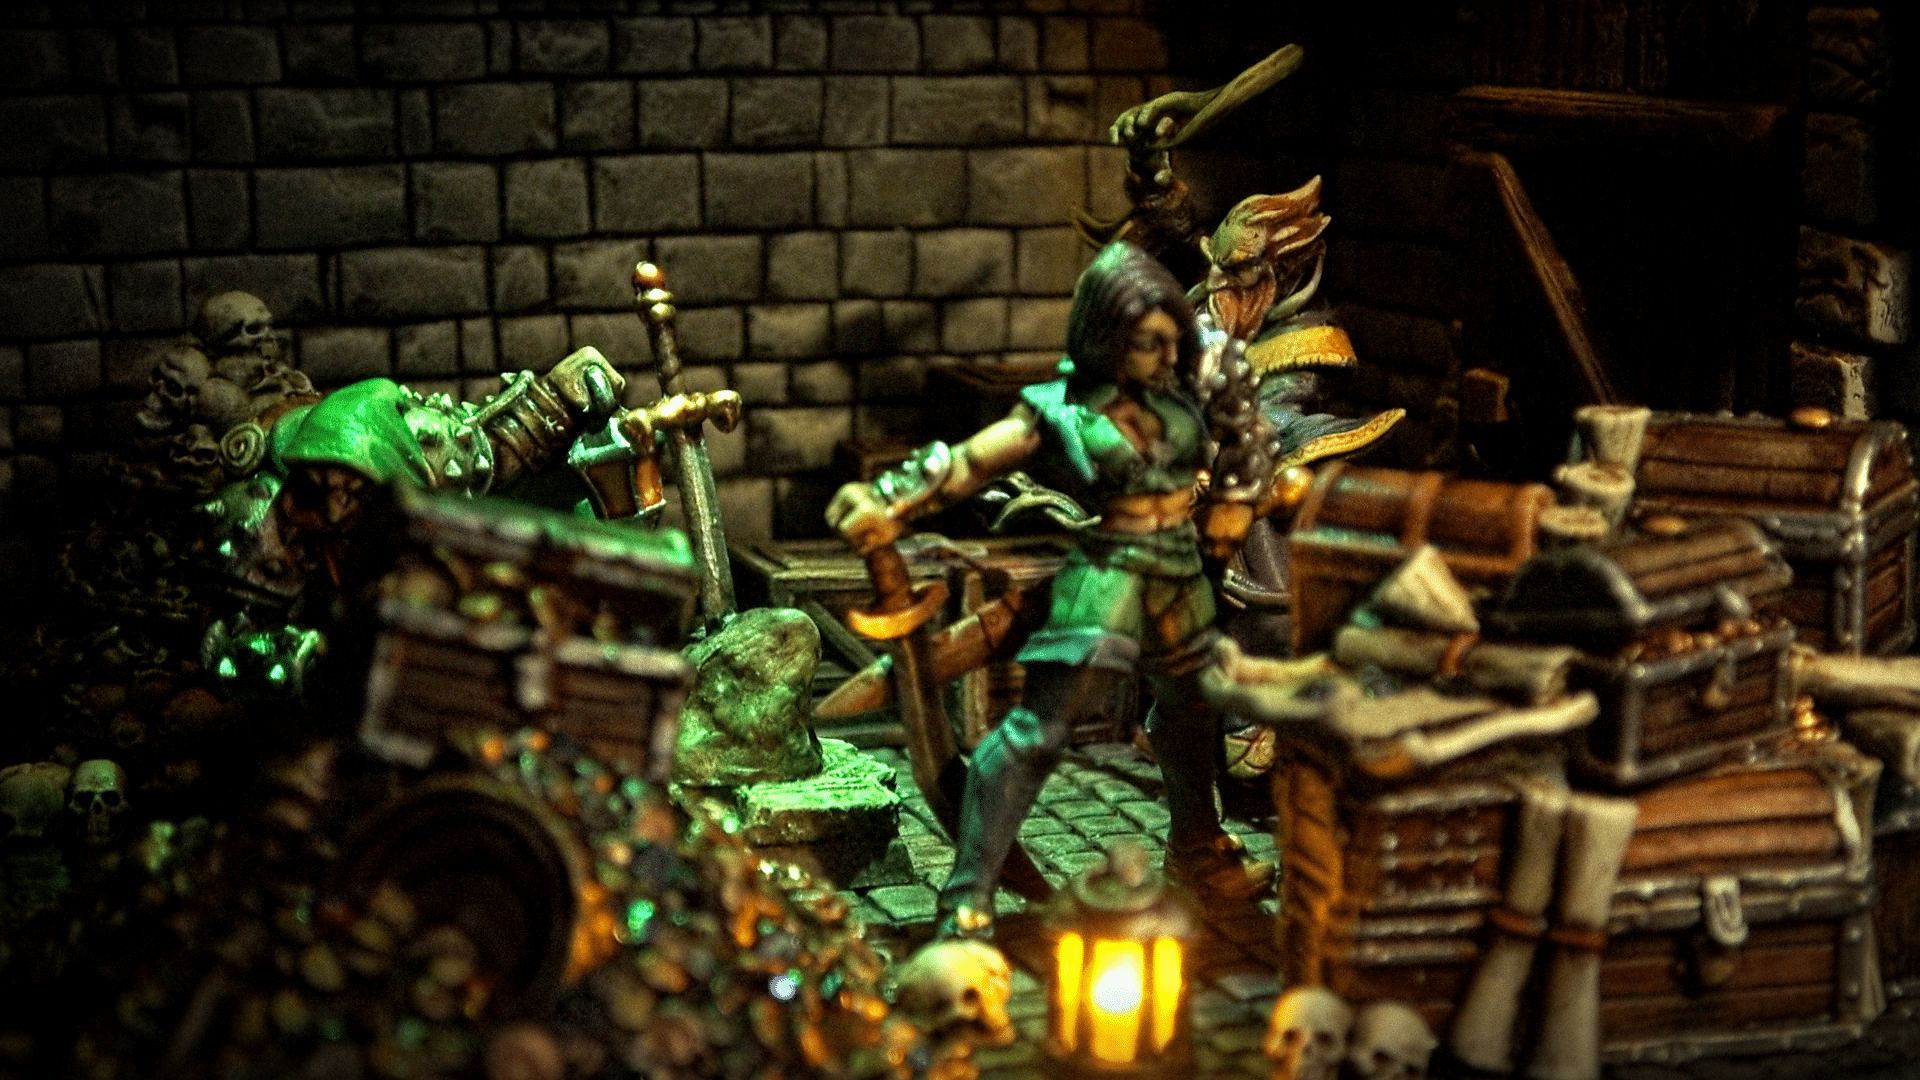
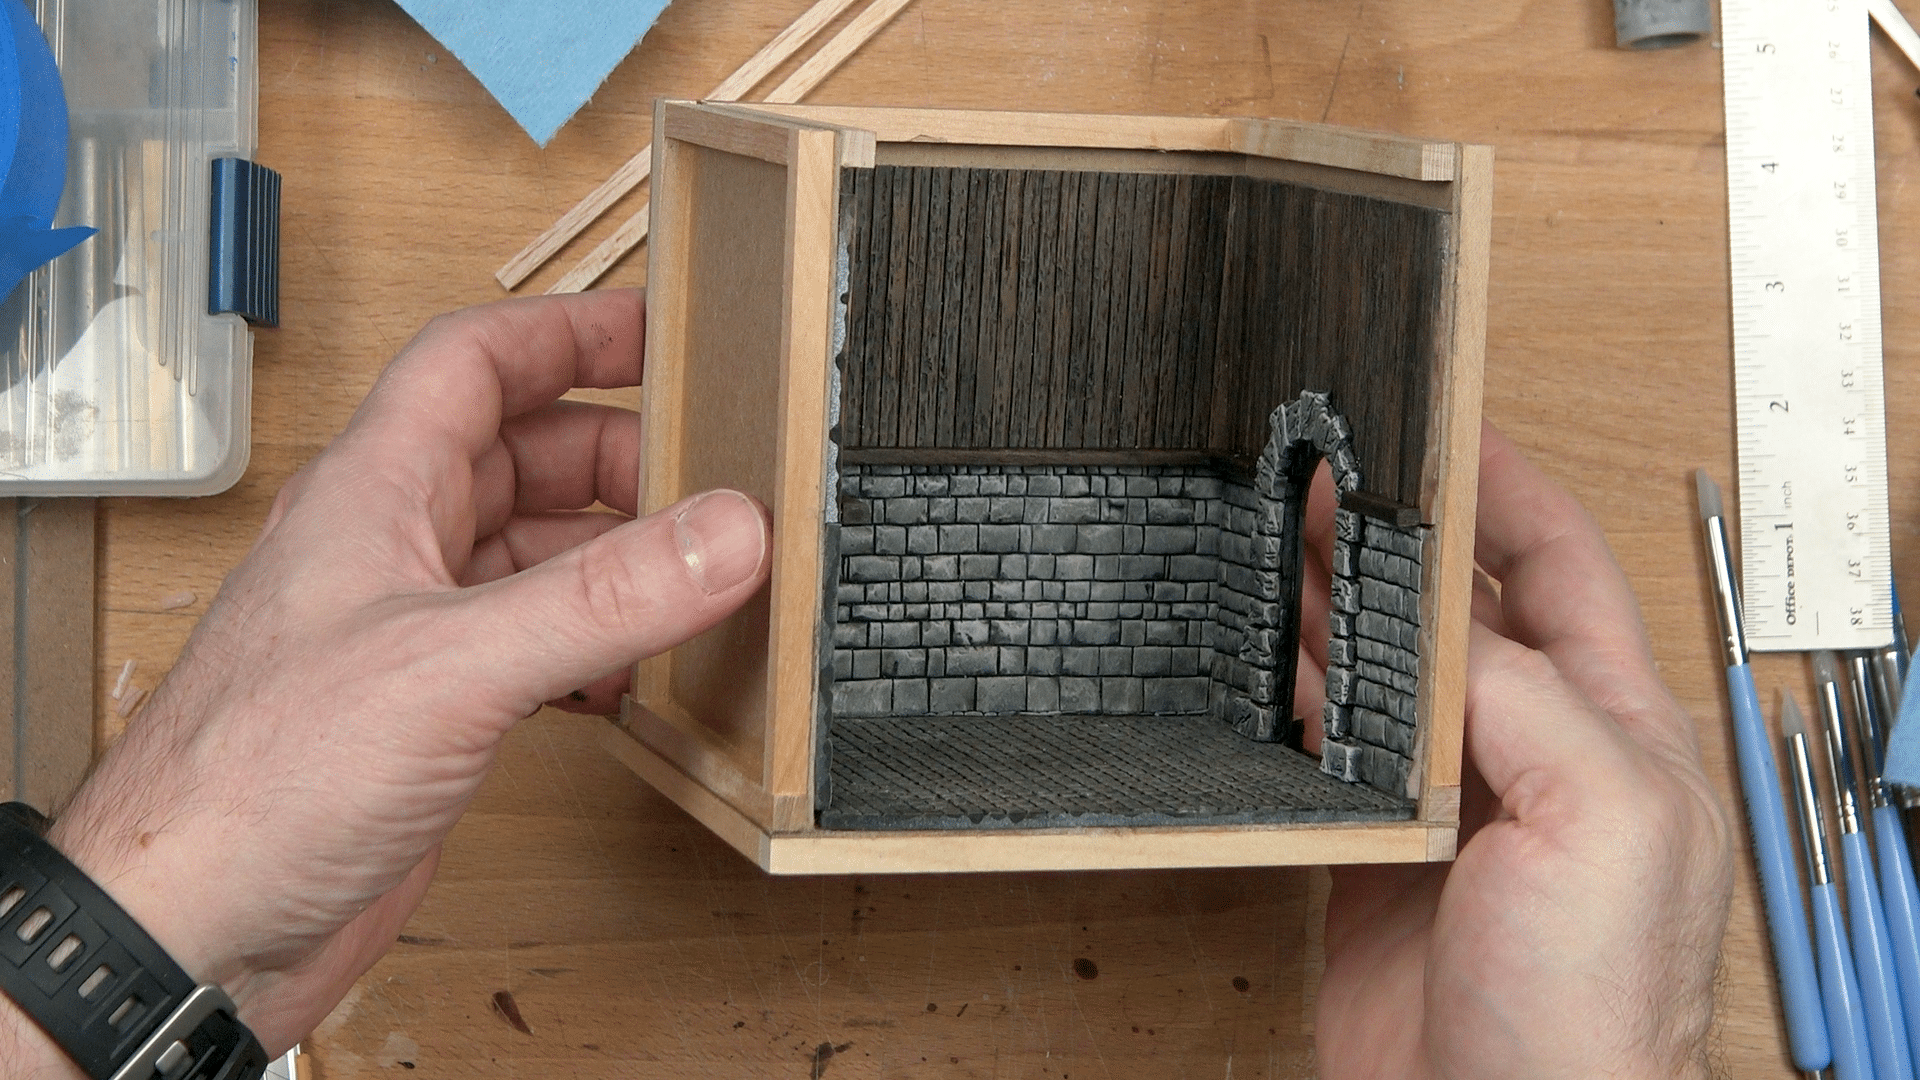
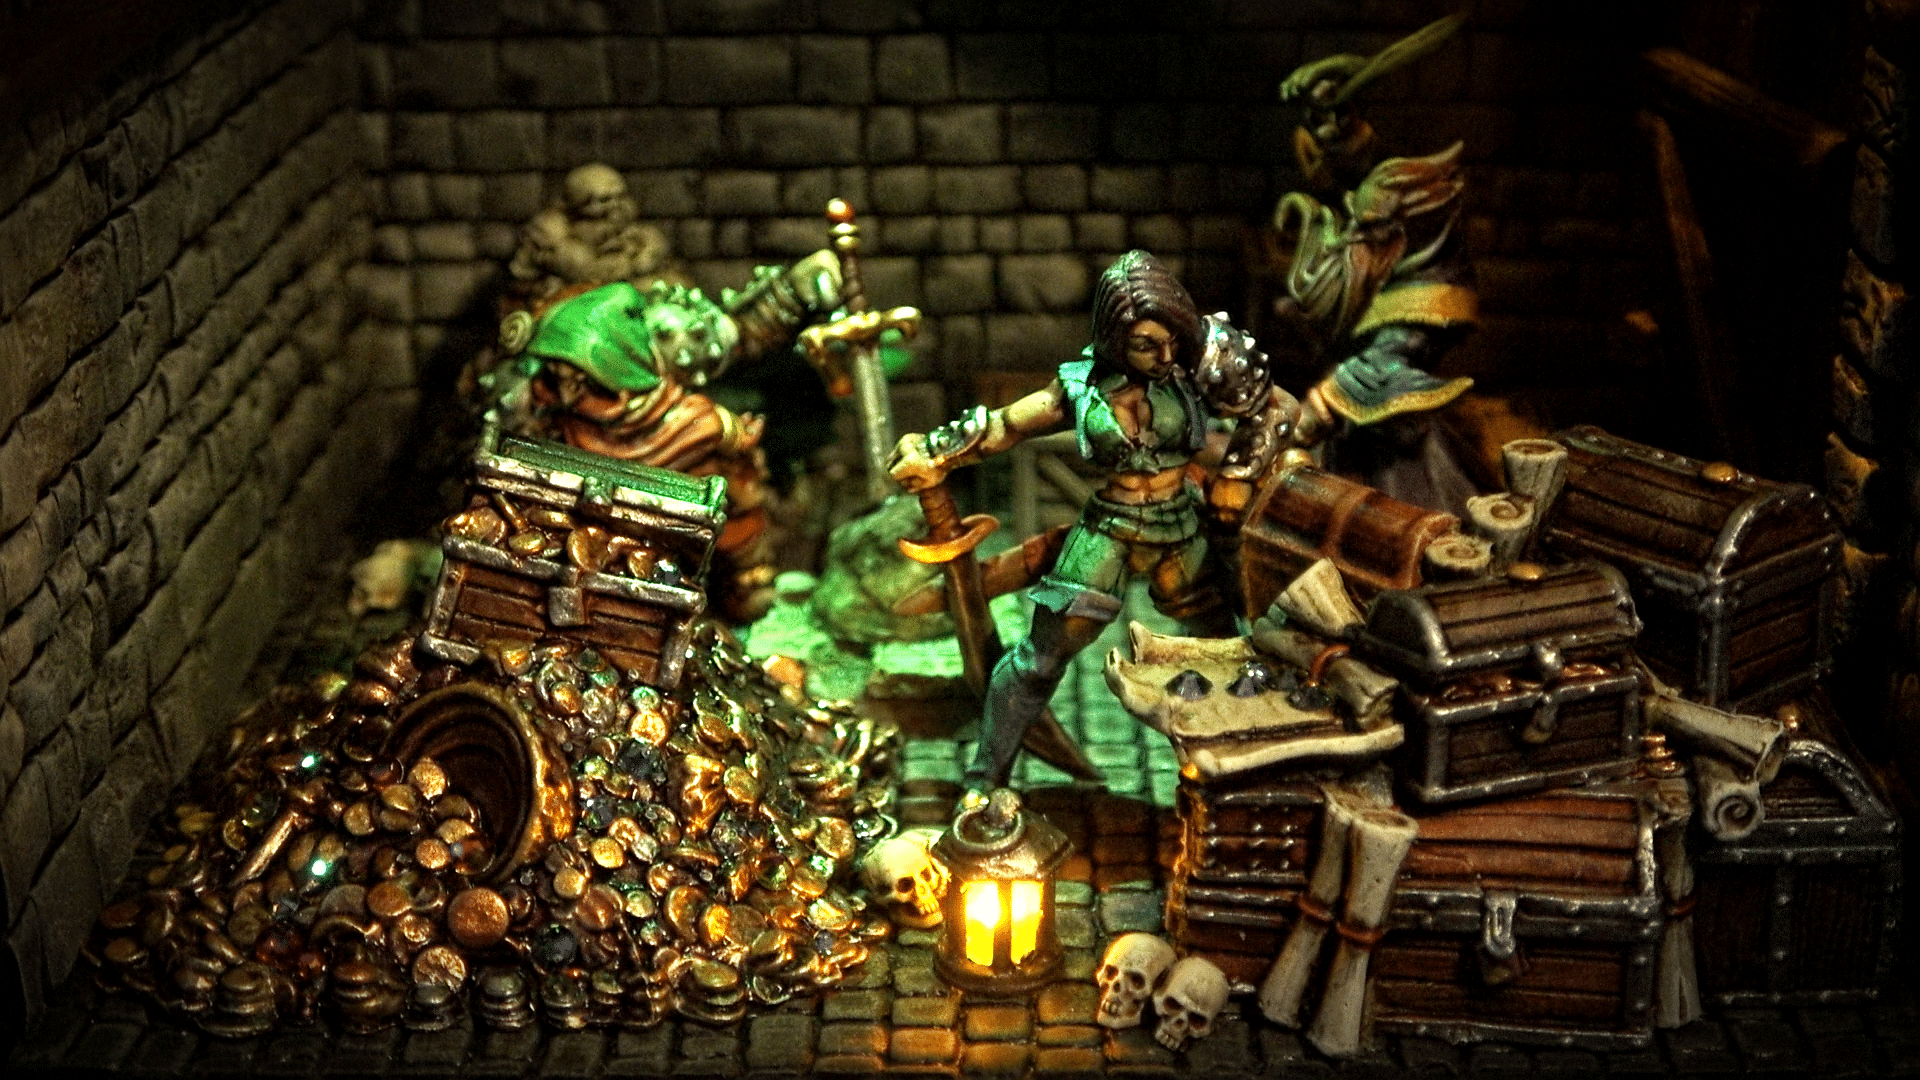
Behold! In the center of this thrilling Dungeons and Dragons book nook themed diorama, you’ll discover a wizard, a thief, and a dwarf amidst the flickering torches, gazing at a pile of glittering treasure and precious objects. You’ll be amazed at the intricately detailed stone walls, stacks of chests, and piles of glittering gold coins that transport you to a fantastical world of adventure and magic.
Using miniature figures and terrain, this diorama truly captures the essence of the beloved tabletop role-playing game. It converts a simple book nook into a pint-sized world of endless possibilities that both fantasy and game enthusiasts will appreciate.
So why wait? If you’re ready for a new project, fashion your very own Dungeons and Dragons book nook diorama. Allow your imagination to soar to great heights and get cracking on this epic creative adventure!
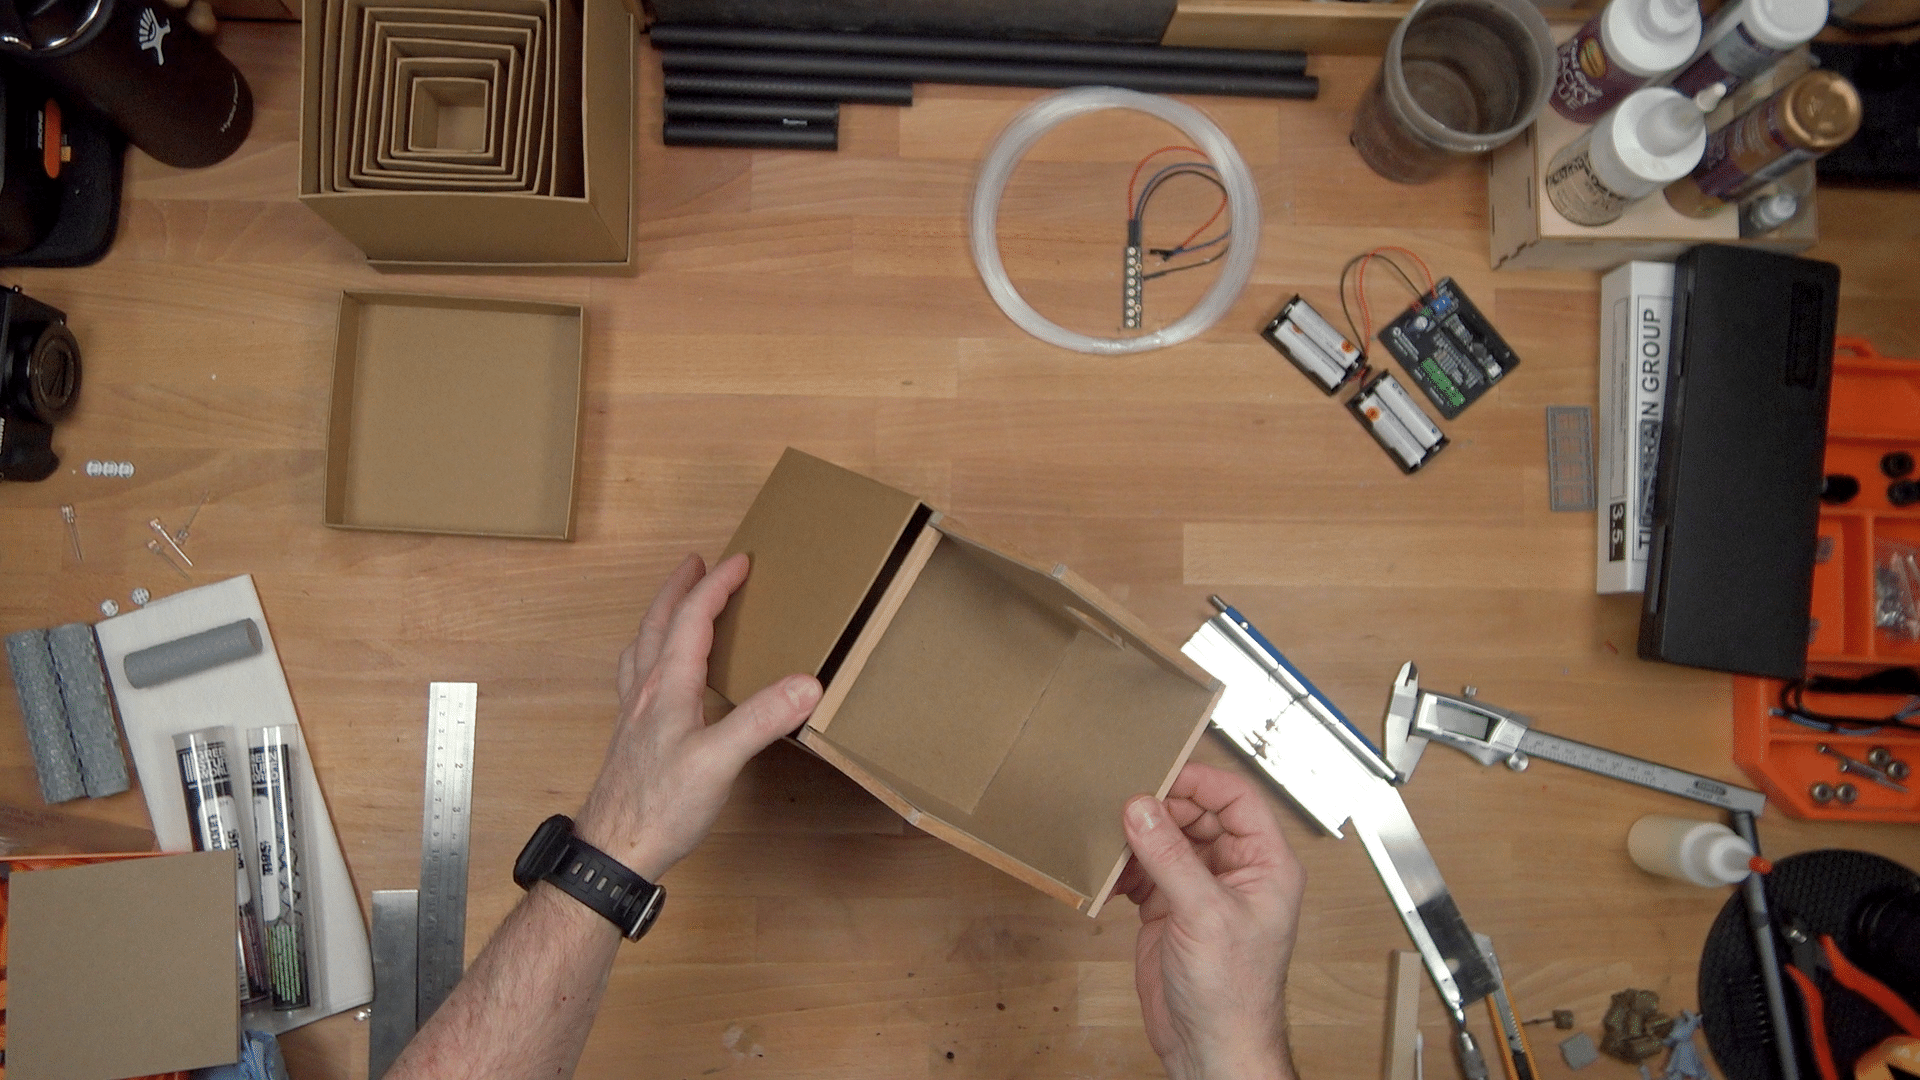
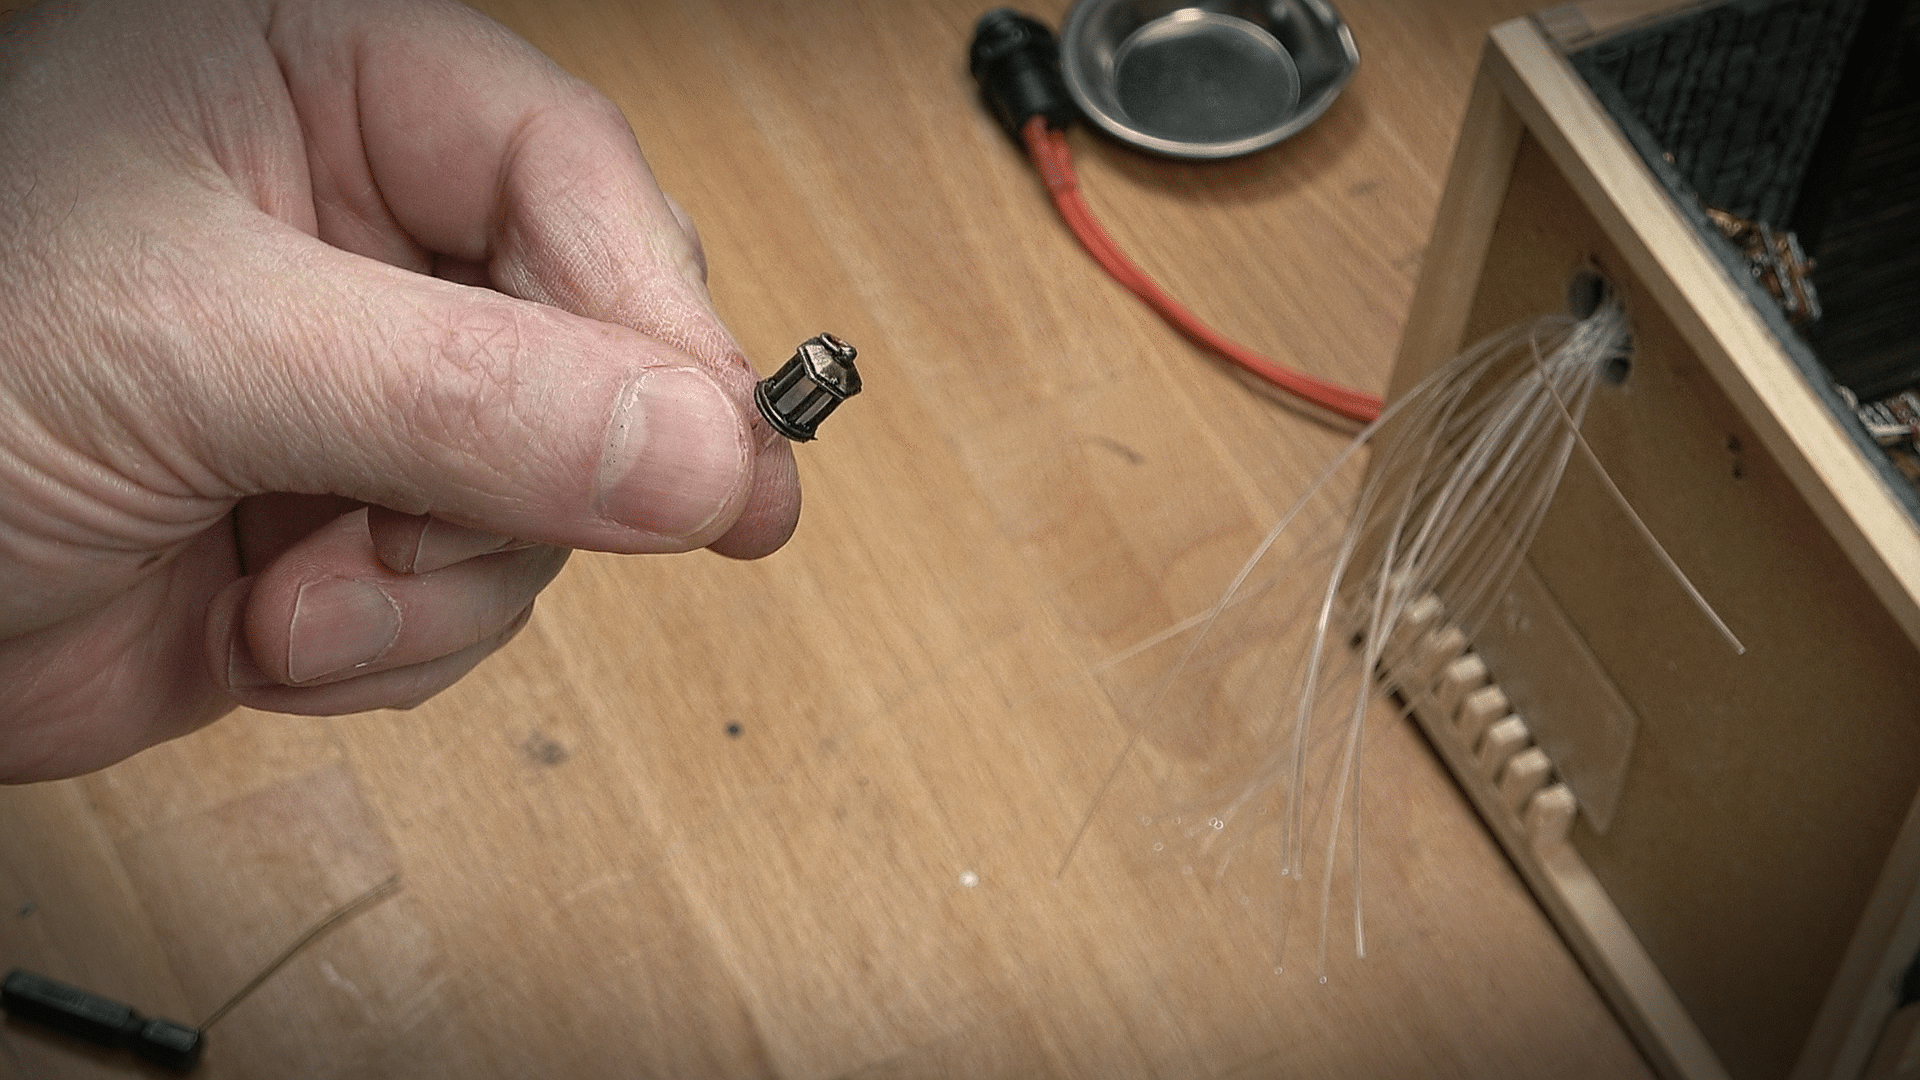
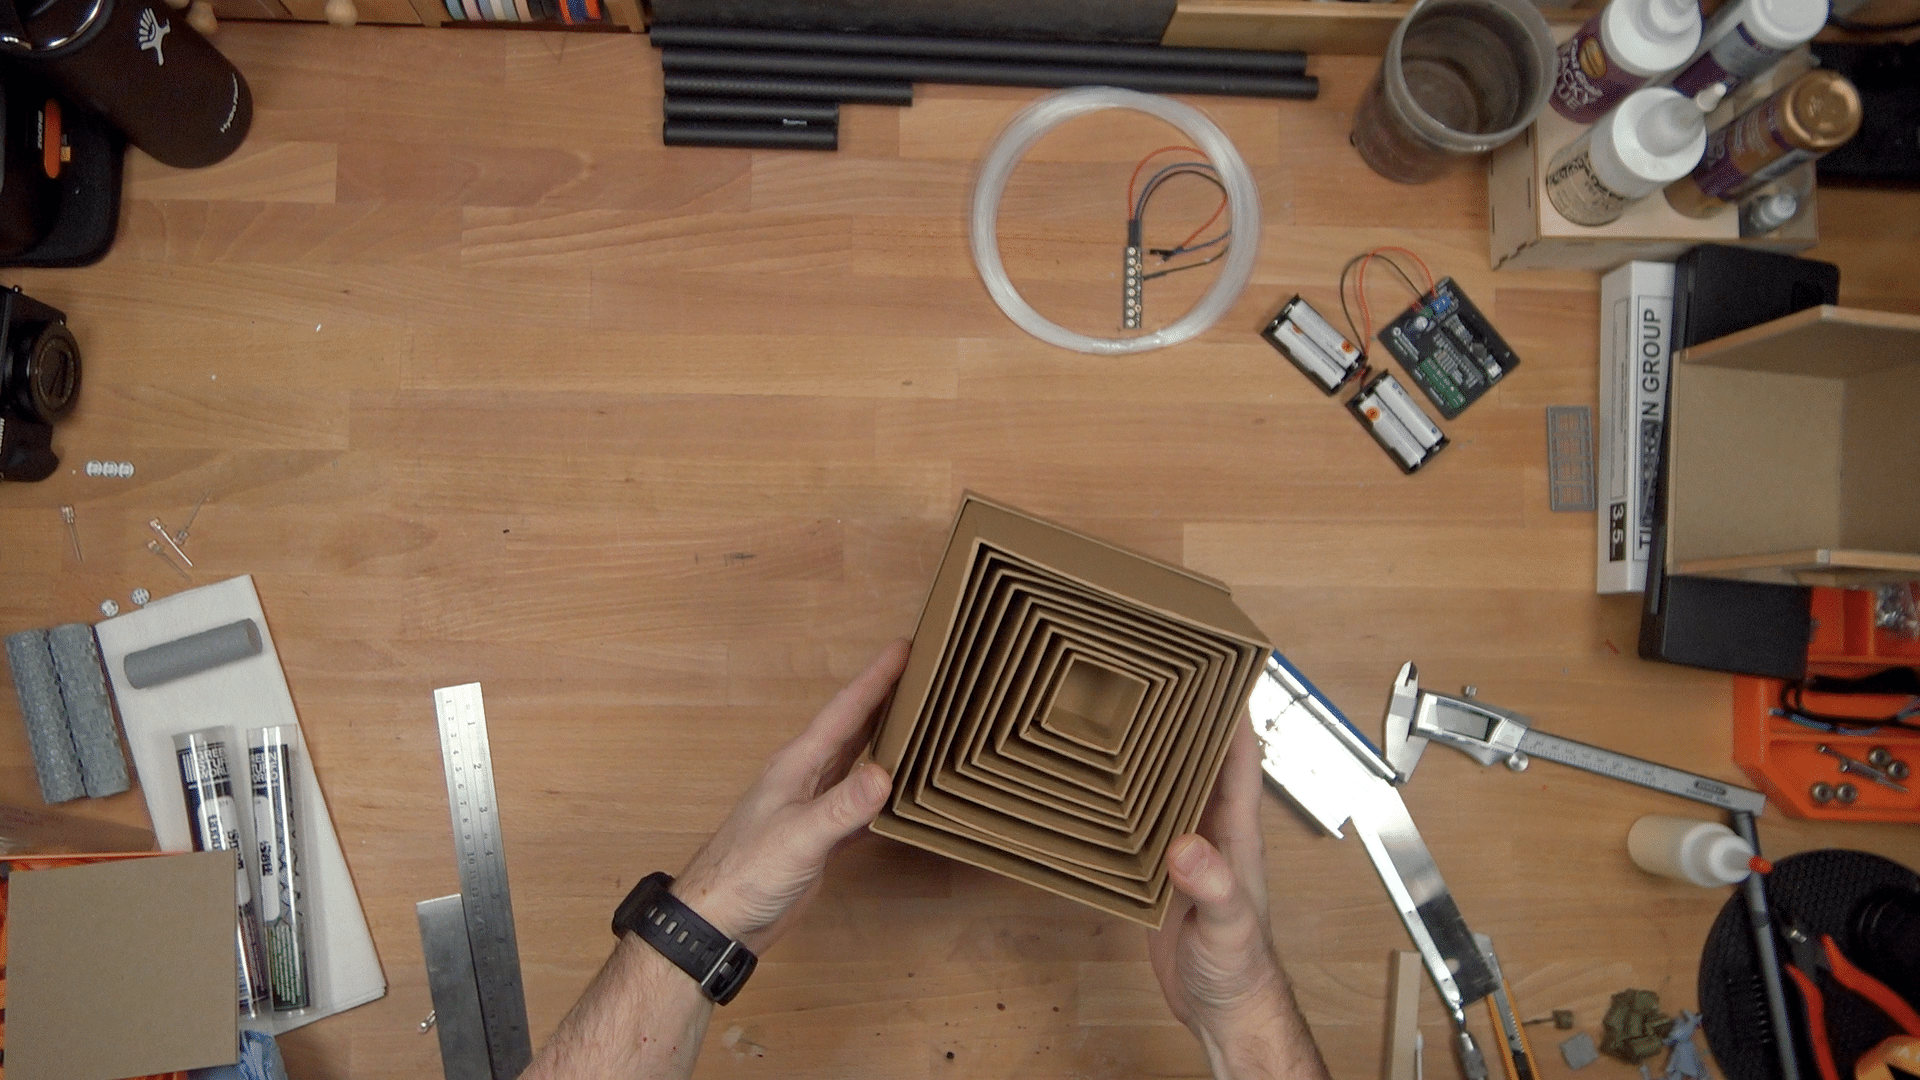
Supplies
Some links are affiliate and provide a small commission to me at no additional cost to you. I make every effort to only link to products that I have ordered and used in my projects. This list of tools and materials isn’t all-encompassing but highlights some of the elements unique to this project.
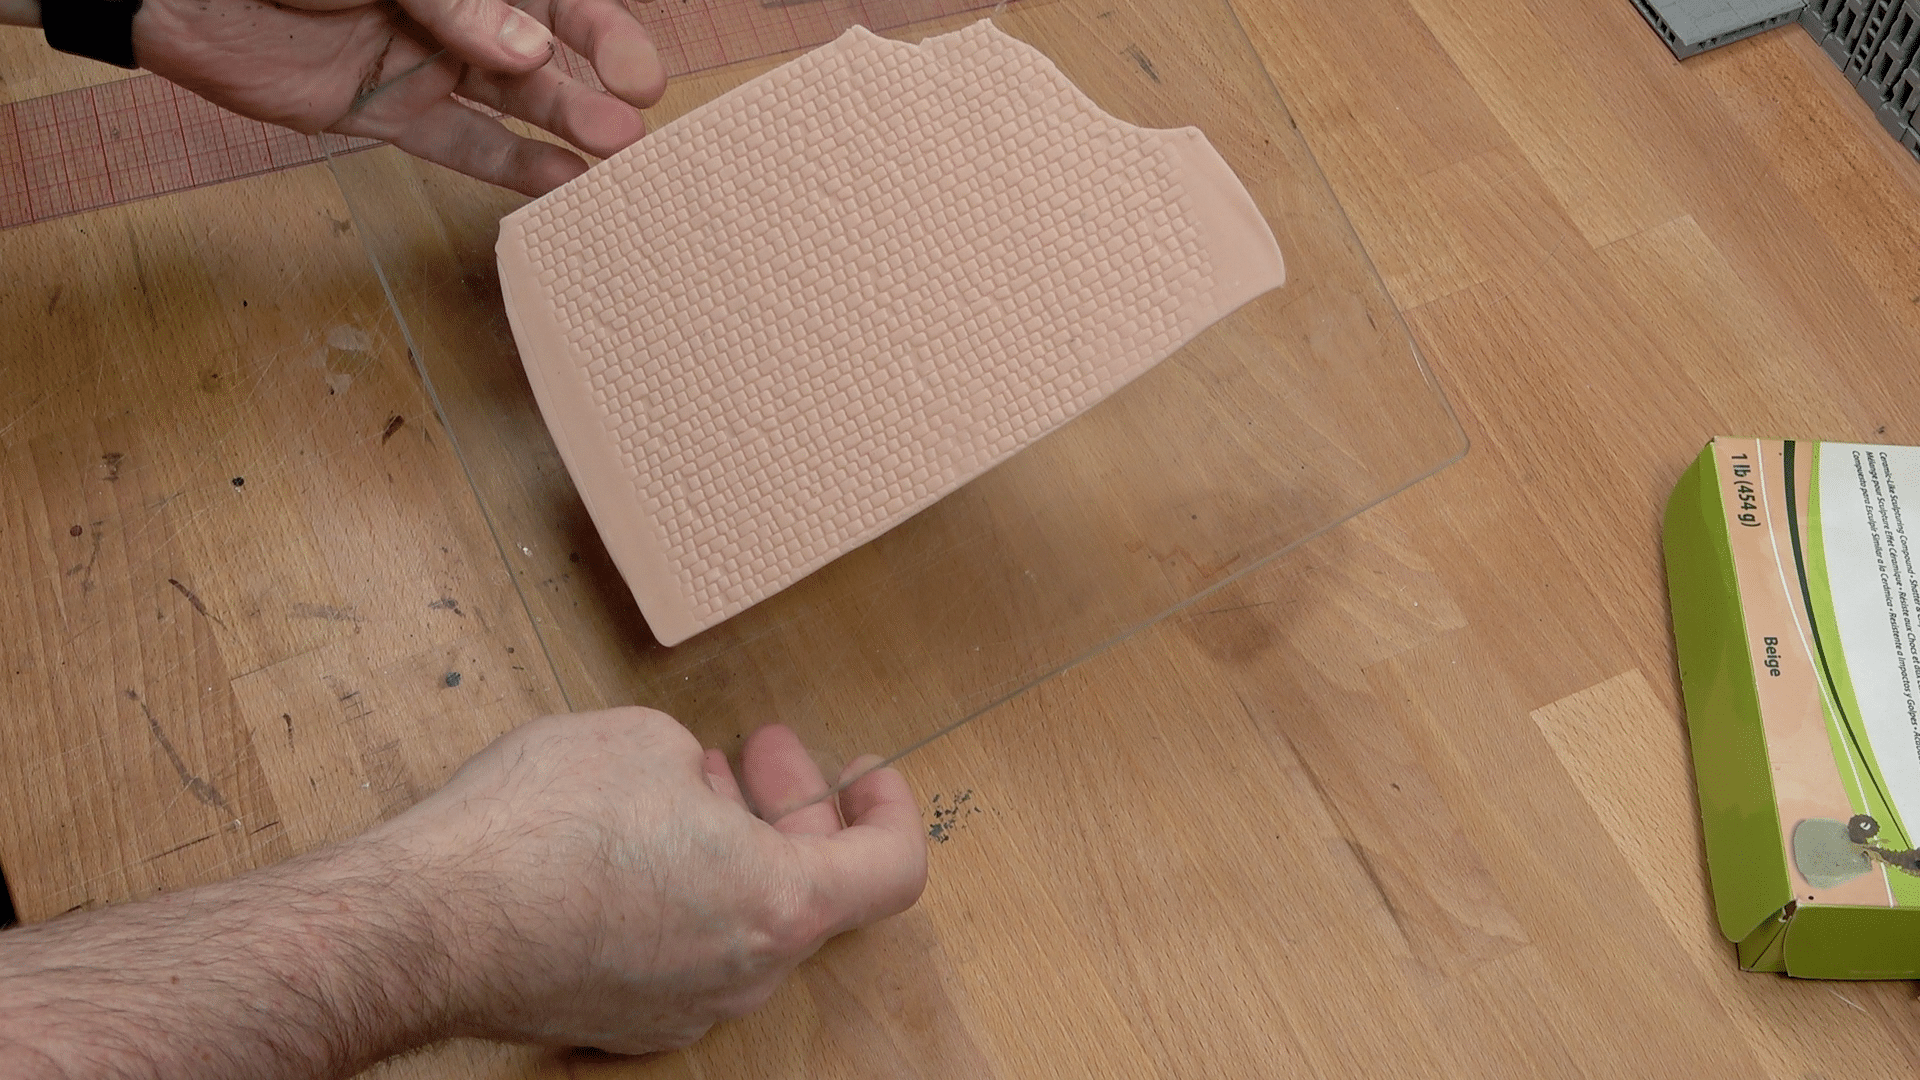
Materials
Tools
Resources
Downloads
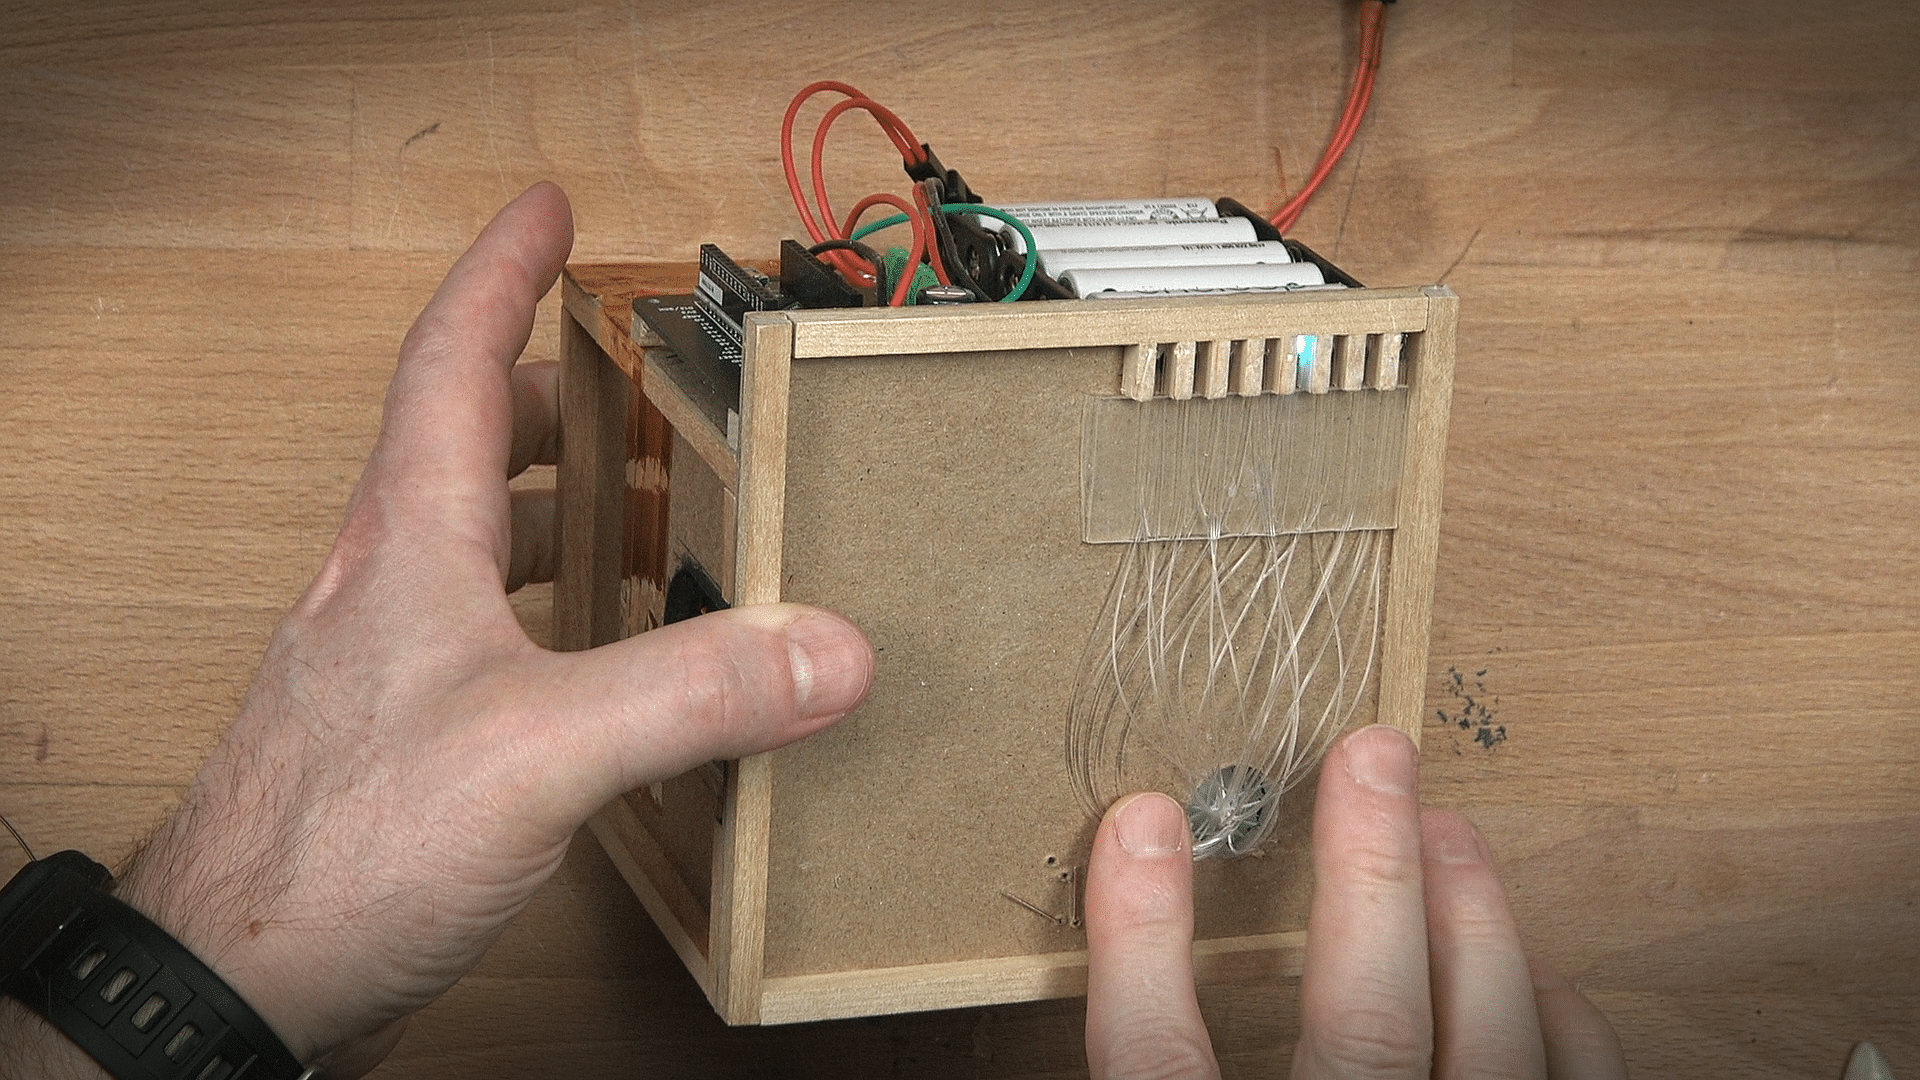
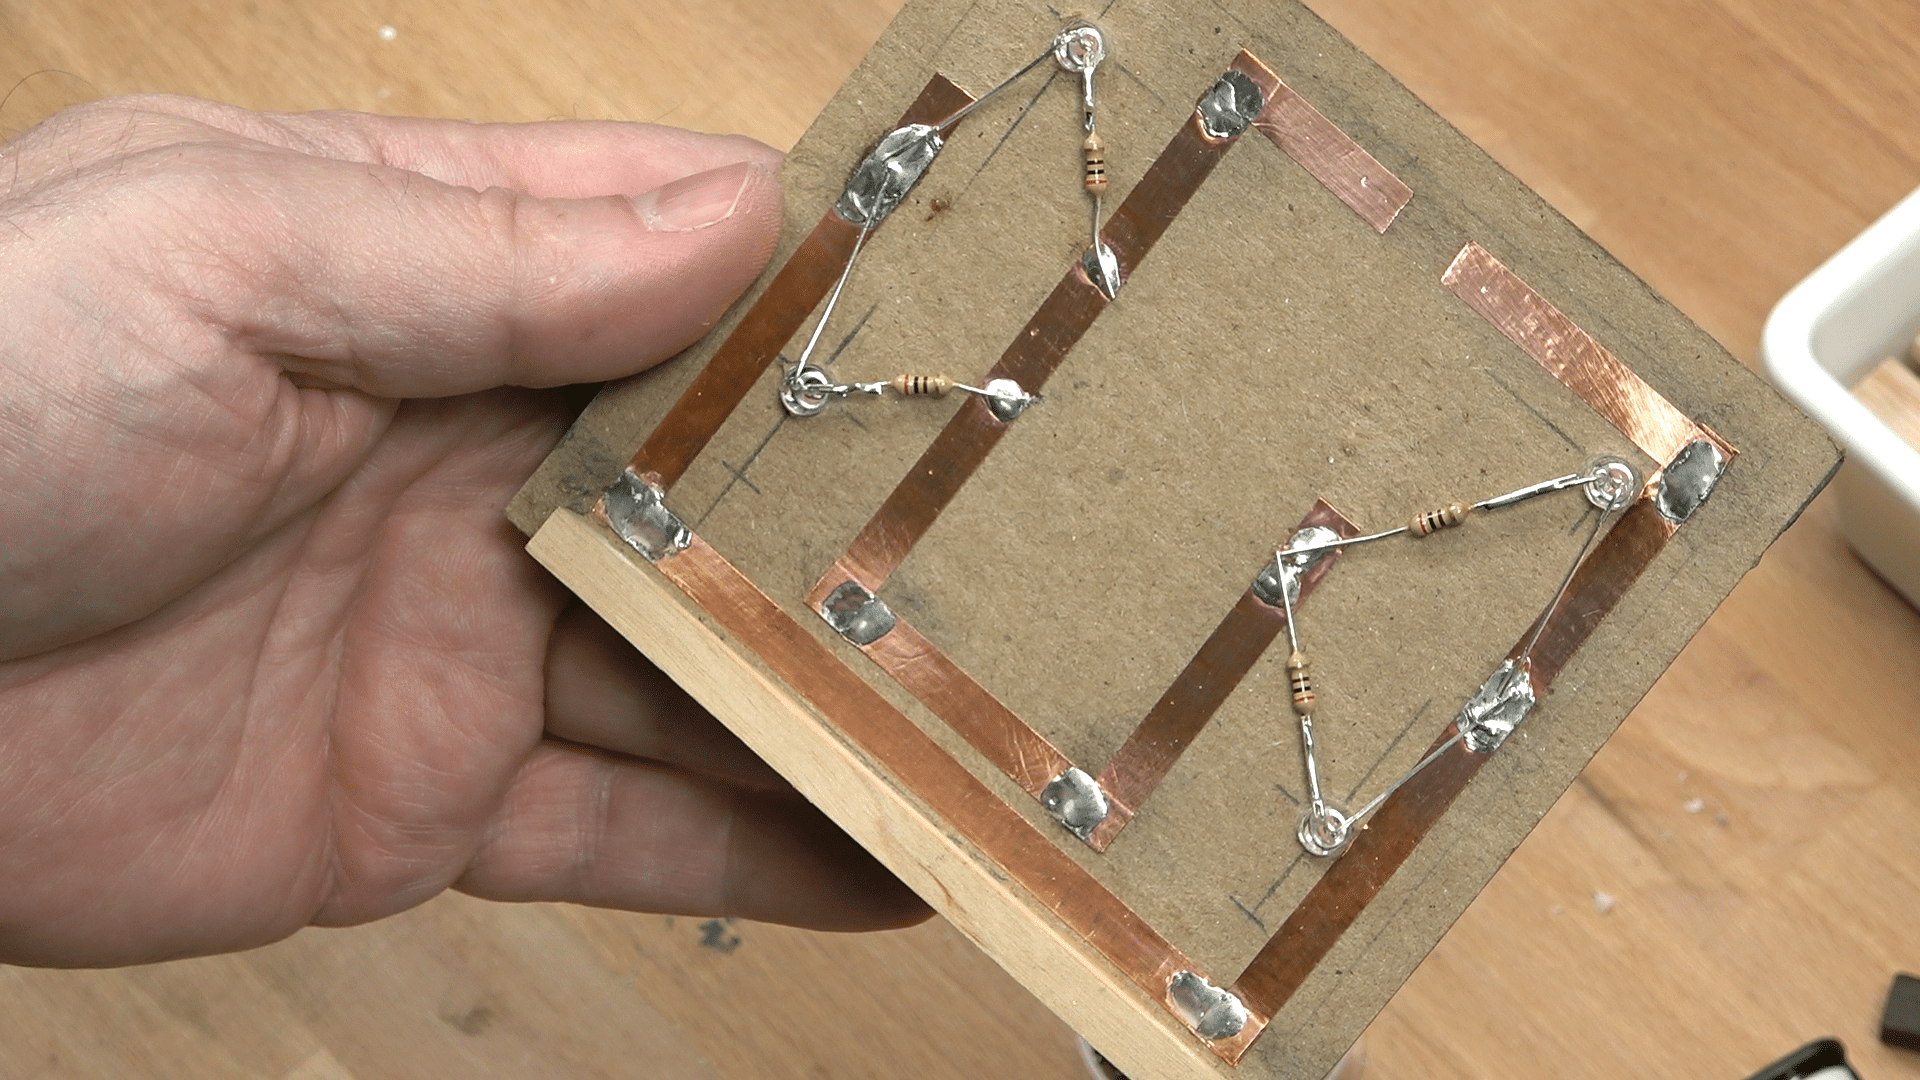
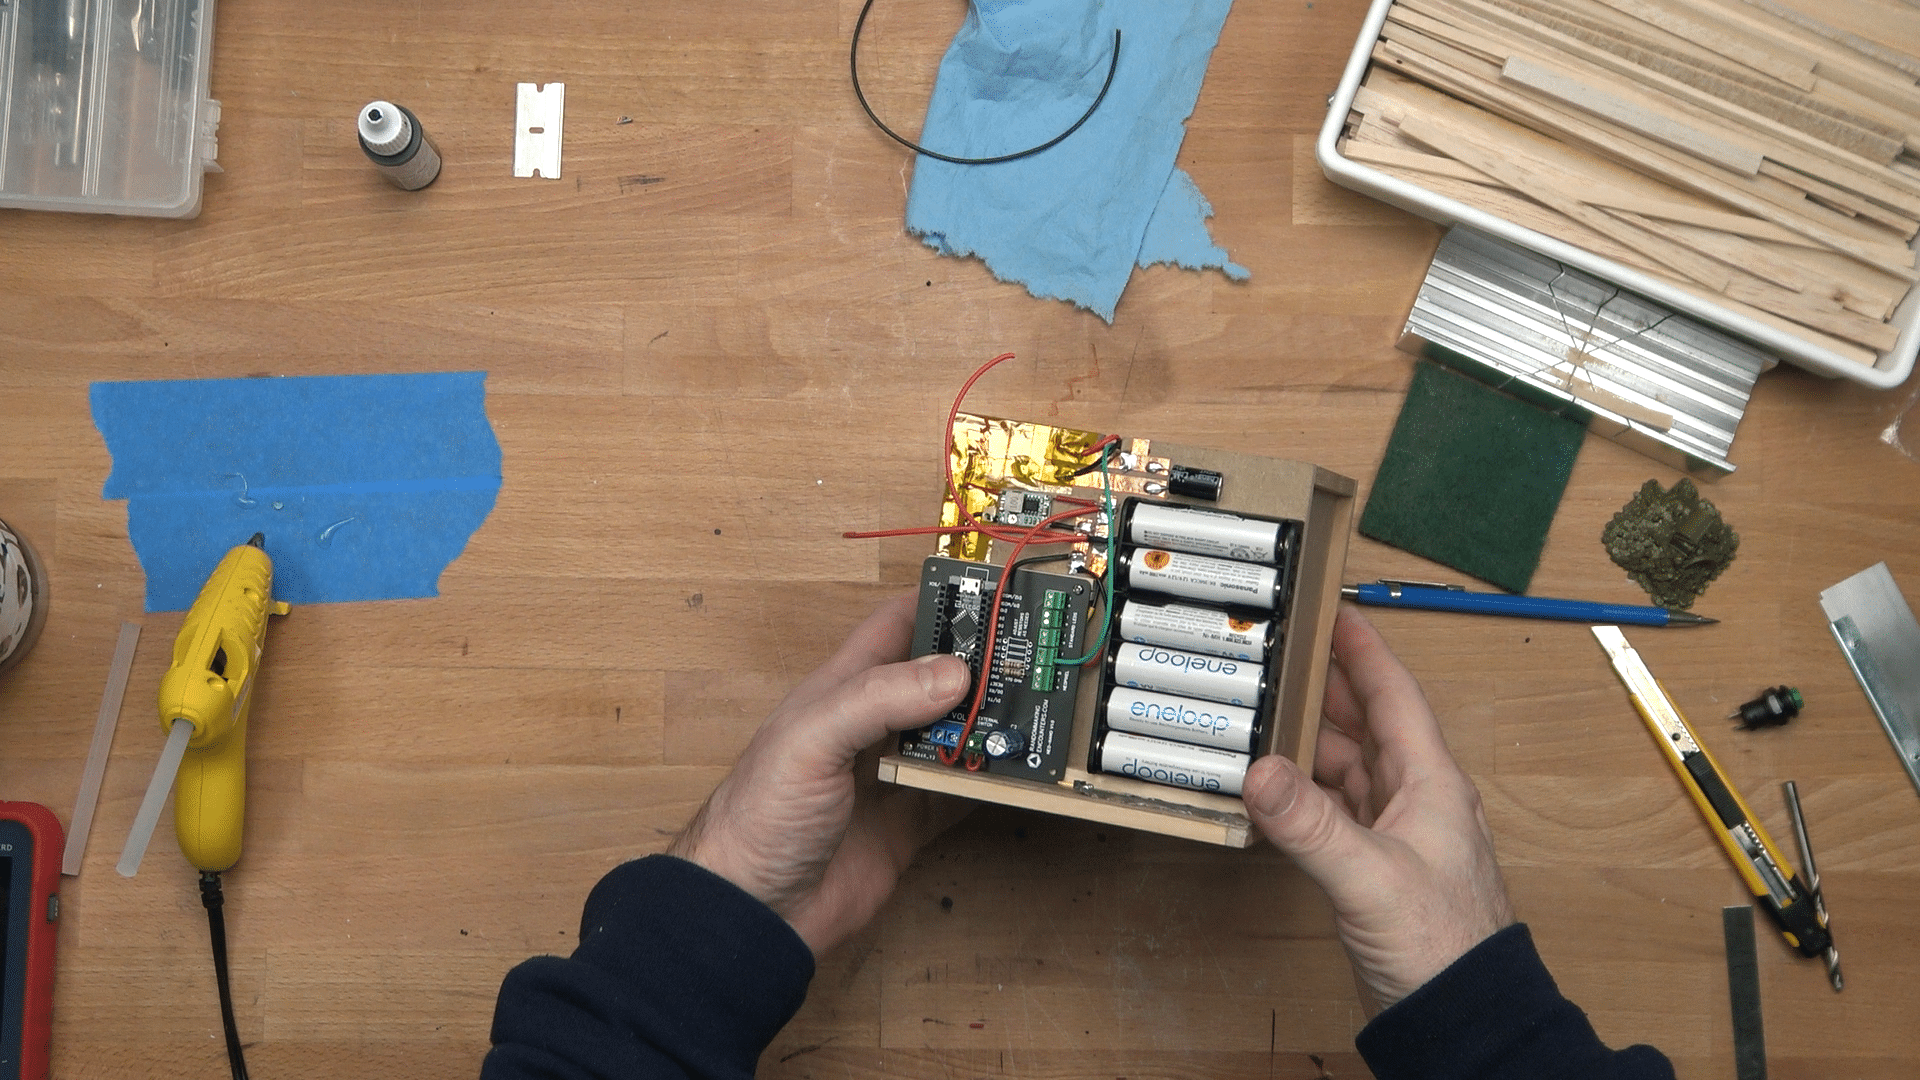
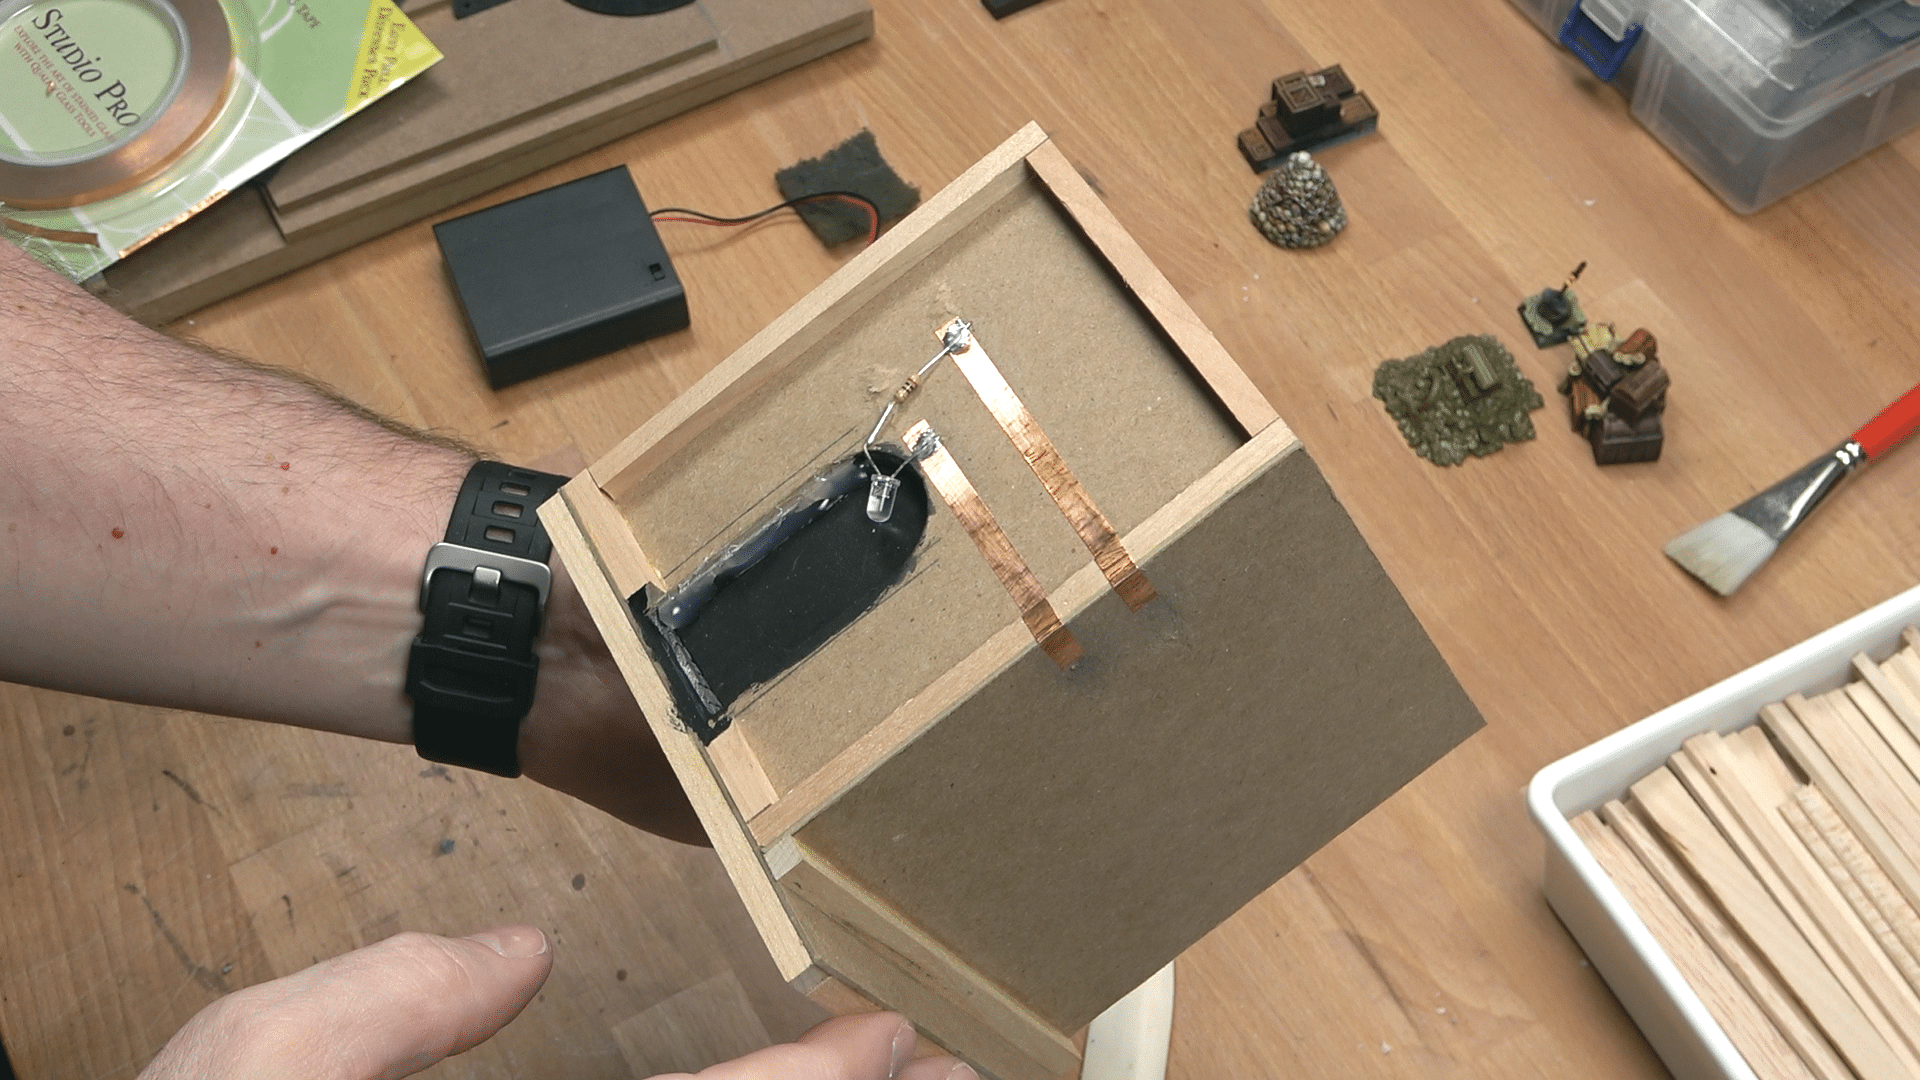
Lighting diagram
NOTE: This diagram should not be considered definitive. Capacitor and resistor values may change depending on your project. This nook required two different working voltages—9 volts for the Arduino and 5 volts for the NeoPixels. The 7805 regulator could be swapped for any step-down regulator capable of safely delivering the total current needs.
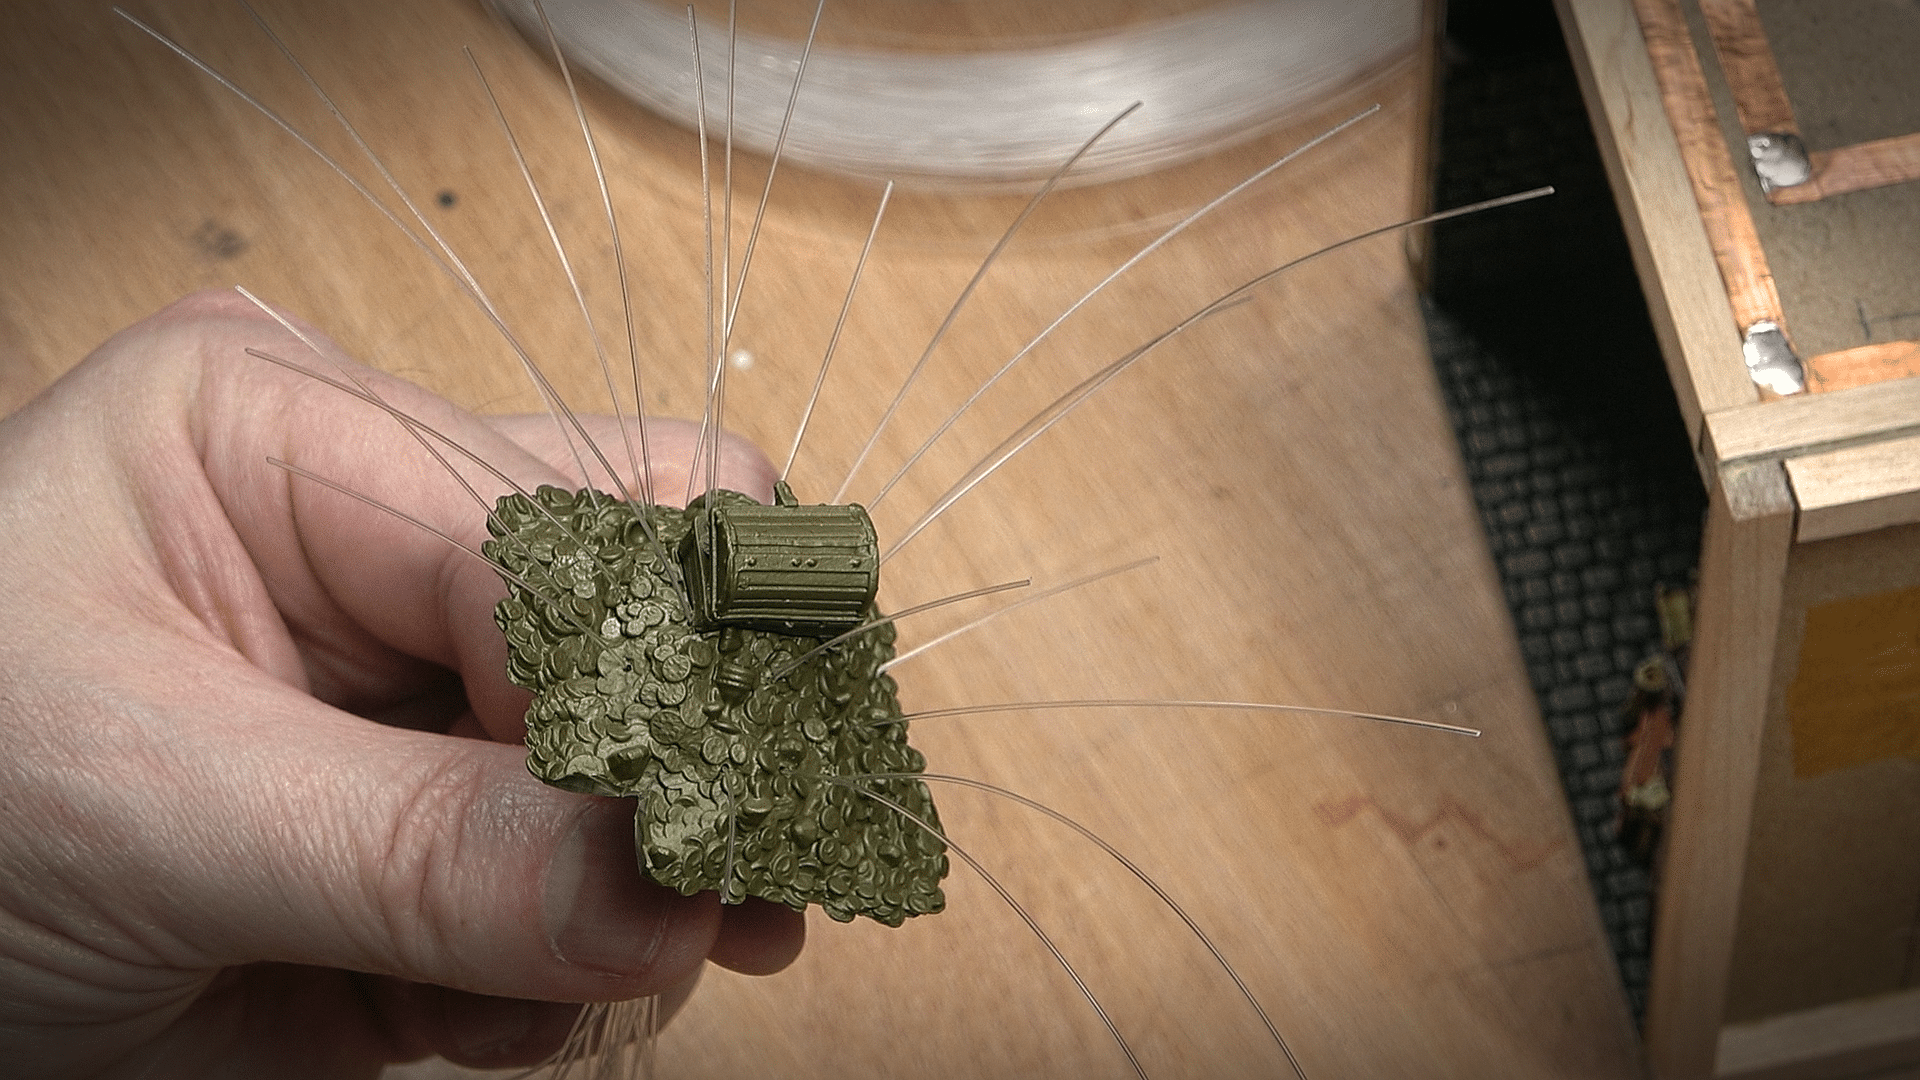
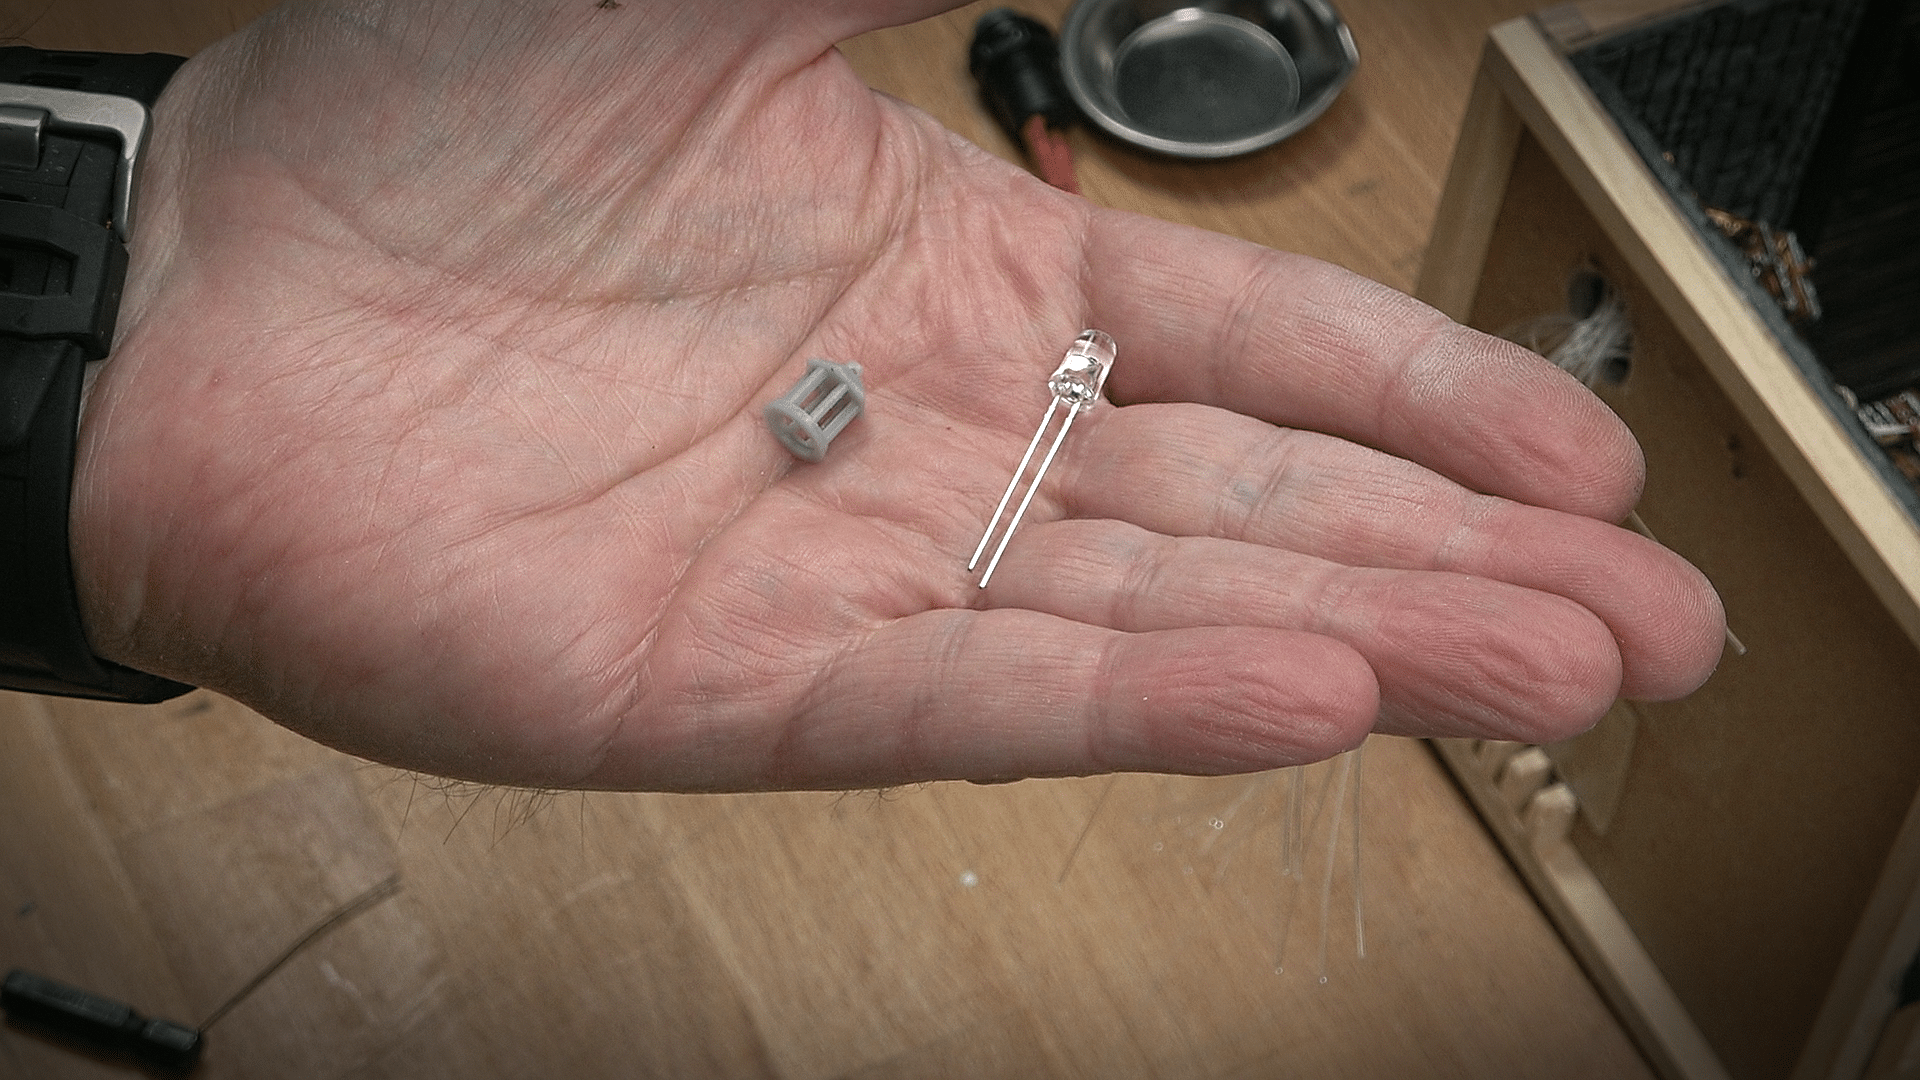
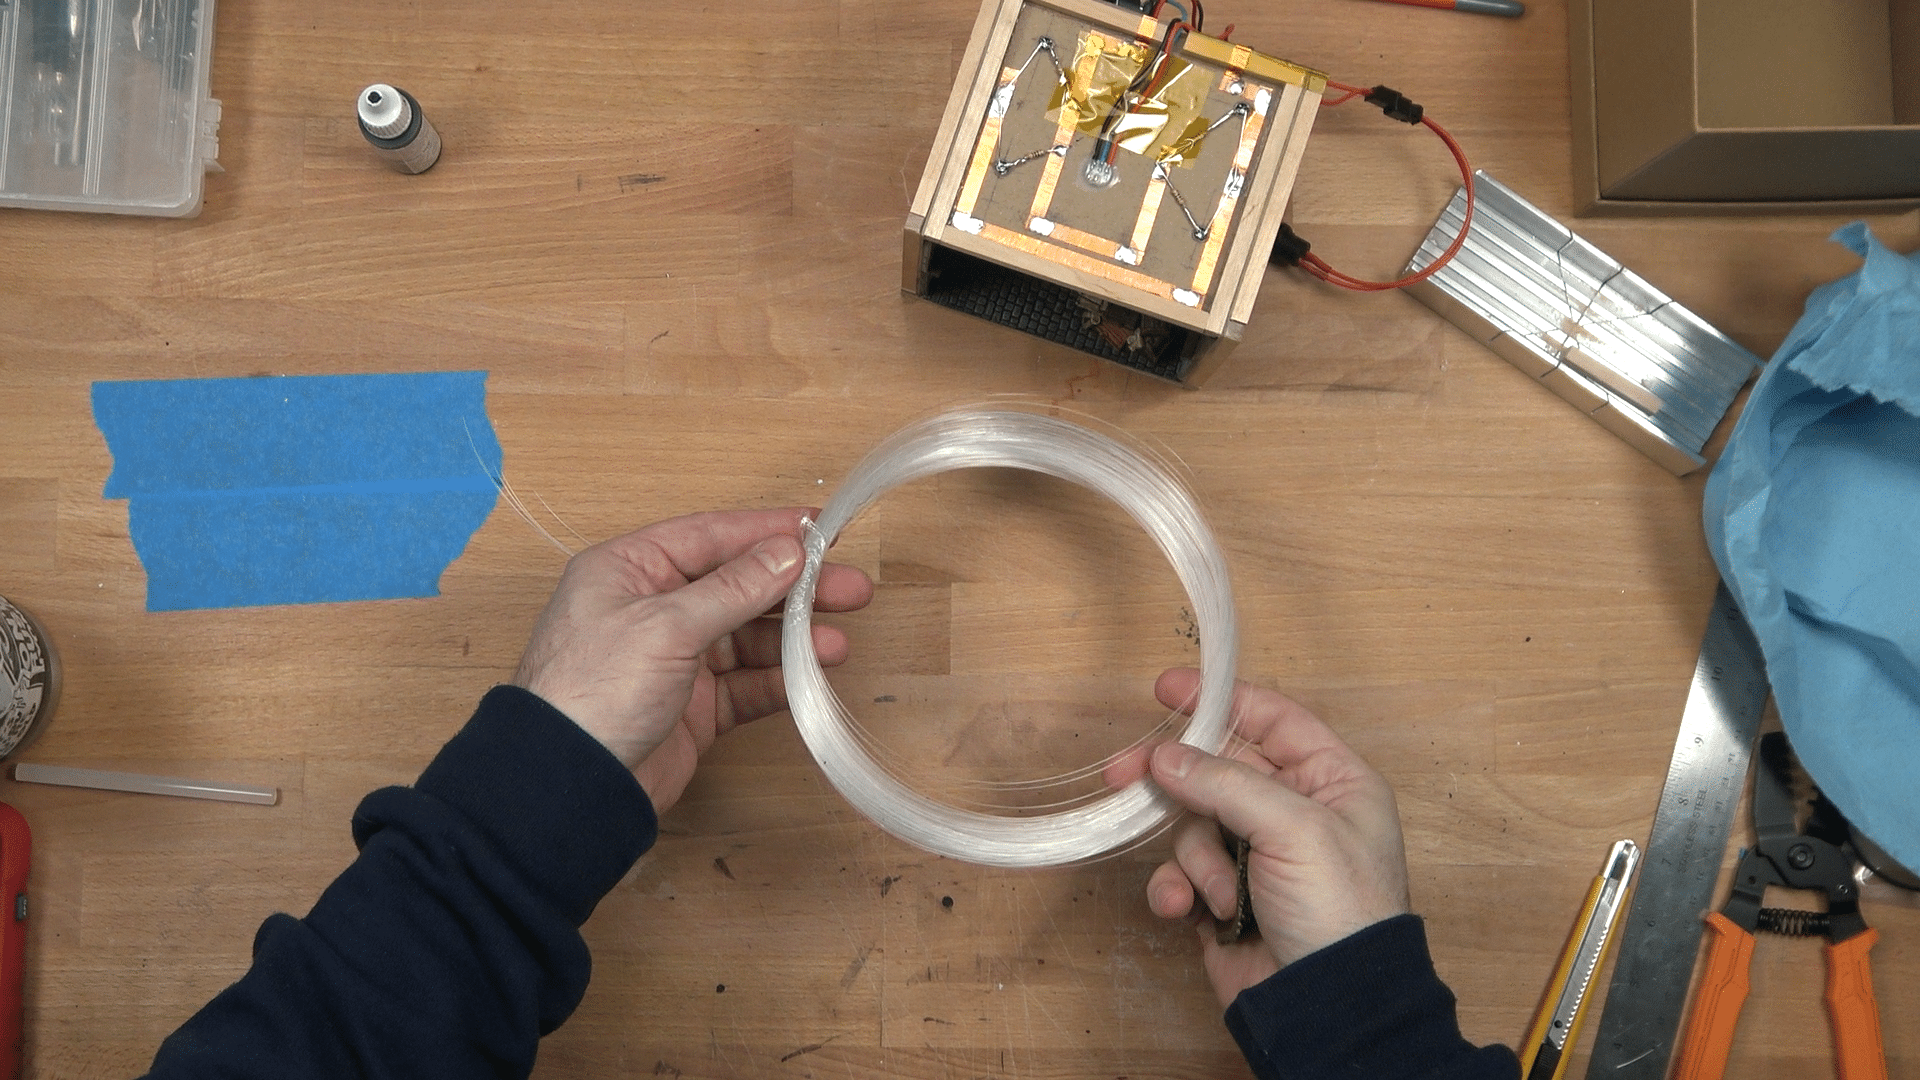
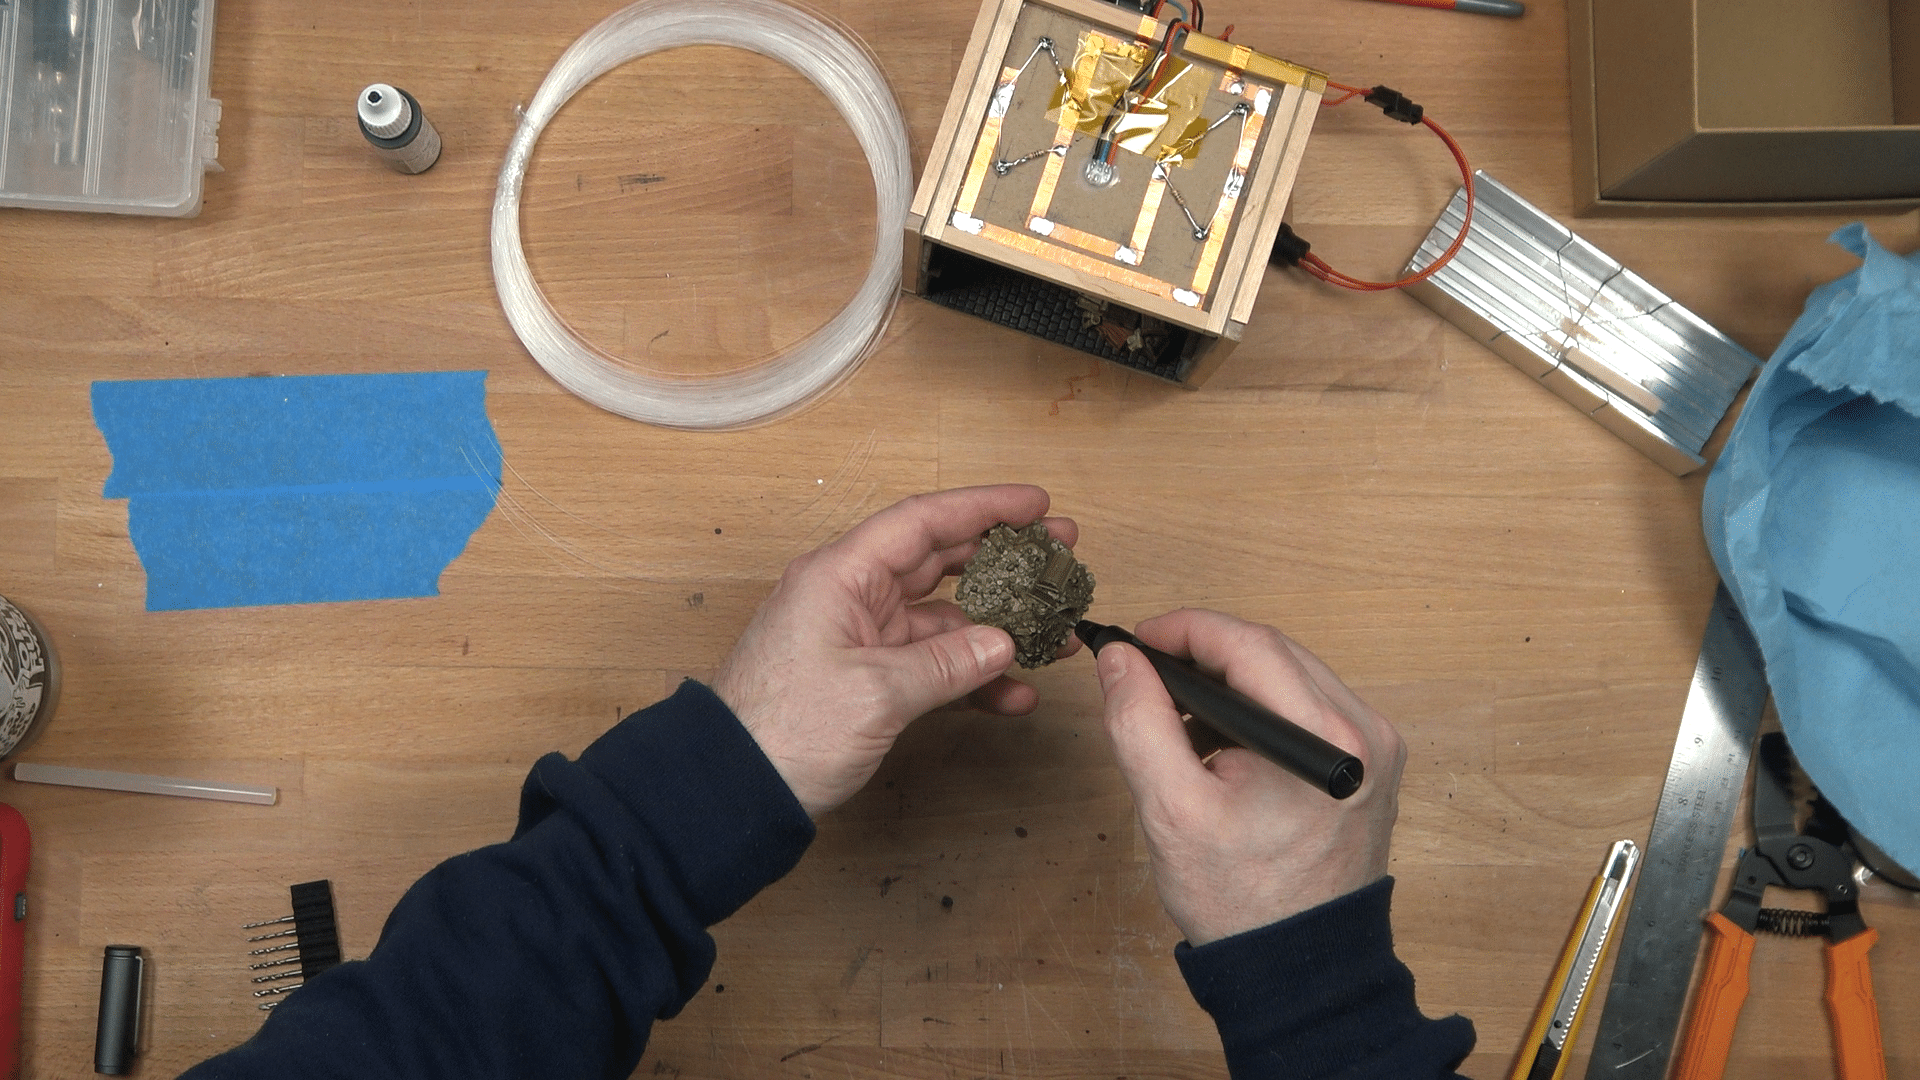
Some back-of-the-napkin math helps ballpark the demands of the circuit. An Arduino Nano draws about 19mA. Each flame LED consumes about 15mA and a NeoPixel about 60mA at full brightness. I’m only running one pixel full time at partial brightness and the twinkles are only briefly on… we’ll call the NeoPixels 40mA? If my math is correct, that all adds up to 149mA. There’s more complexity to the circuit but a multimeter on the real deal shows about 100mA on the circuit so I overestimated by about 50%. The juicy goodness I’m getting to here is I always think about the demands I’m placing on my components and try to work within their limits when creating a diorama.

Code
This code creates two NeoPixel objects. The interior pixel over the sword is set once to the desired color. The second NeoPixel object randomly flashes a single pixel on the strip. The color is randomly generated within a range of predefined hue, saturation, and value. A quick check is also made to ensure that a different pixel is being illuminated.
					#include <Adafruit_NeoPixel.h>
#ifdef __AVR__
#include <avr/power.h>  // Required for 16 MHz Adafruit Trinket
#endif

int hue = 0;
int saturation = 0;
int value = 0;
uint32_t rgbcolor = 0;
int pixel = 0;
int priorPixel = 1;

Adafruit_NeoPixel neoP01(8, 2, NEO_GRBW + NEO_KHZ800);
Adafruit_NeoPixel neoP02(1, 3, NEO_GRB + NEO_KHZ800);

void setup() {
  neoP01.begin();
  neoP01.show();

  // set sword neopixel color
  neoP02.begin();
  neoP02.show();
  neoP02.setPixelColor(0, 100, 255, 50);
  neoP02.show();
}
void loop() {

  while (pixel == priorPixel) {
    pixel = random(0, 8);
  }


  hue = random(0, 65536);
  saturation = random(200, 255);
  value = random(0, 255);
  for (int i = 0; i <= 255; i = i + 2) {
    rgbcolor = neoP01.ColorHSV(hue, saturation, i);
    neoP01.setPixelColor(pixel, rgbcolor);
    neoP01.show();
  }
  for (int i = 255; i >= 0; i = i - 2) {
    rgbcolor = neoP01.ColorHSV(hue, saturation, i);
    neoP01.setPixelColor(pixel, rgbcolor);
    neoP01.show();
  }
  neoP01.clear();

  priorPixel = pixel;
}